Awake nice and early this morning. I decided to get a painting out of the wait straight away. I spent yesterday working with Unity - taking both my 3d and 2d artwork into the engine. It made me want to build something in a day - maybe for game jam where I make make everything from scratch - pencil sketch - digital painting - 3d blender - then finally unity. I think it will be a good challenge Often I just recycle my old art assets. This will be especially helpful for the 3d.
Here’s the painting -
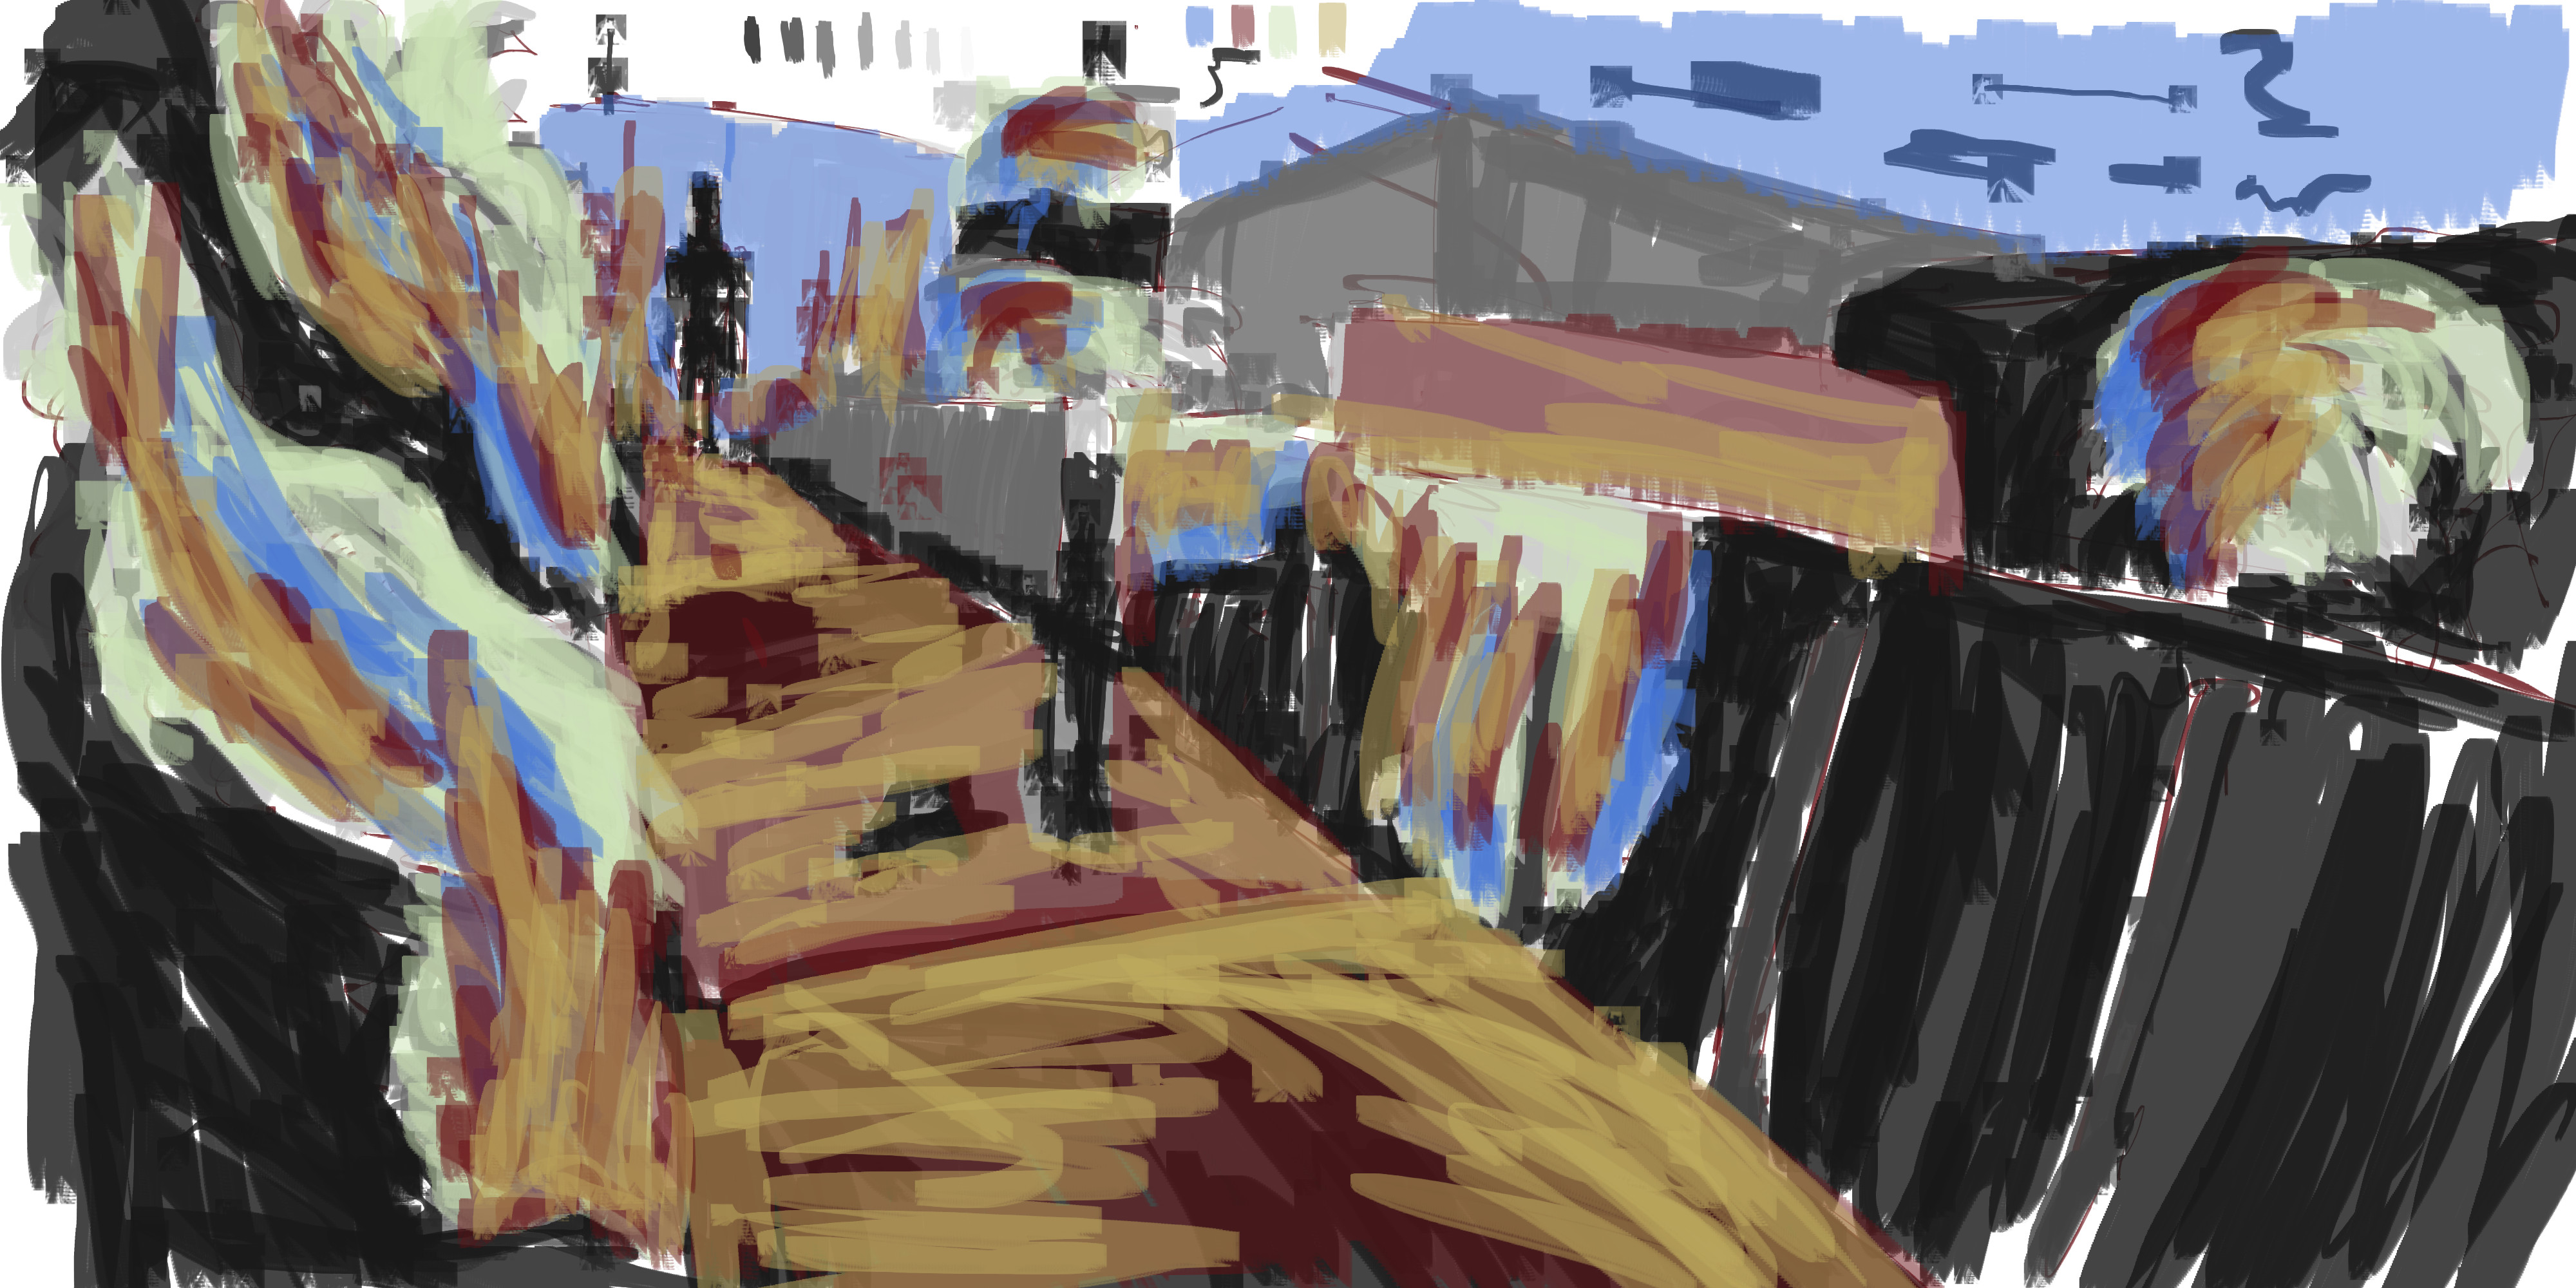
The photo reference. I took this photo several days ago in Levin. It’s a alleyway I often walk down. I’m happy with the photo, and photos I’m happy with are more likely to be turned into art. Here’s the art:
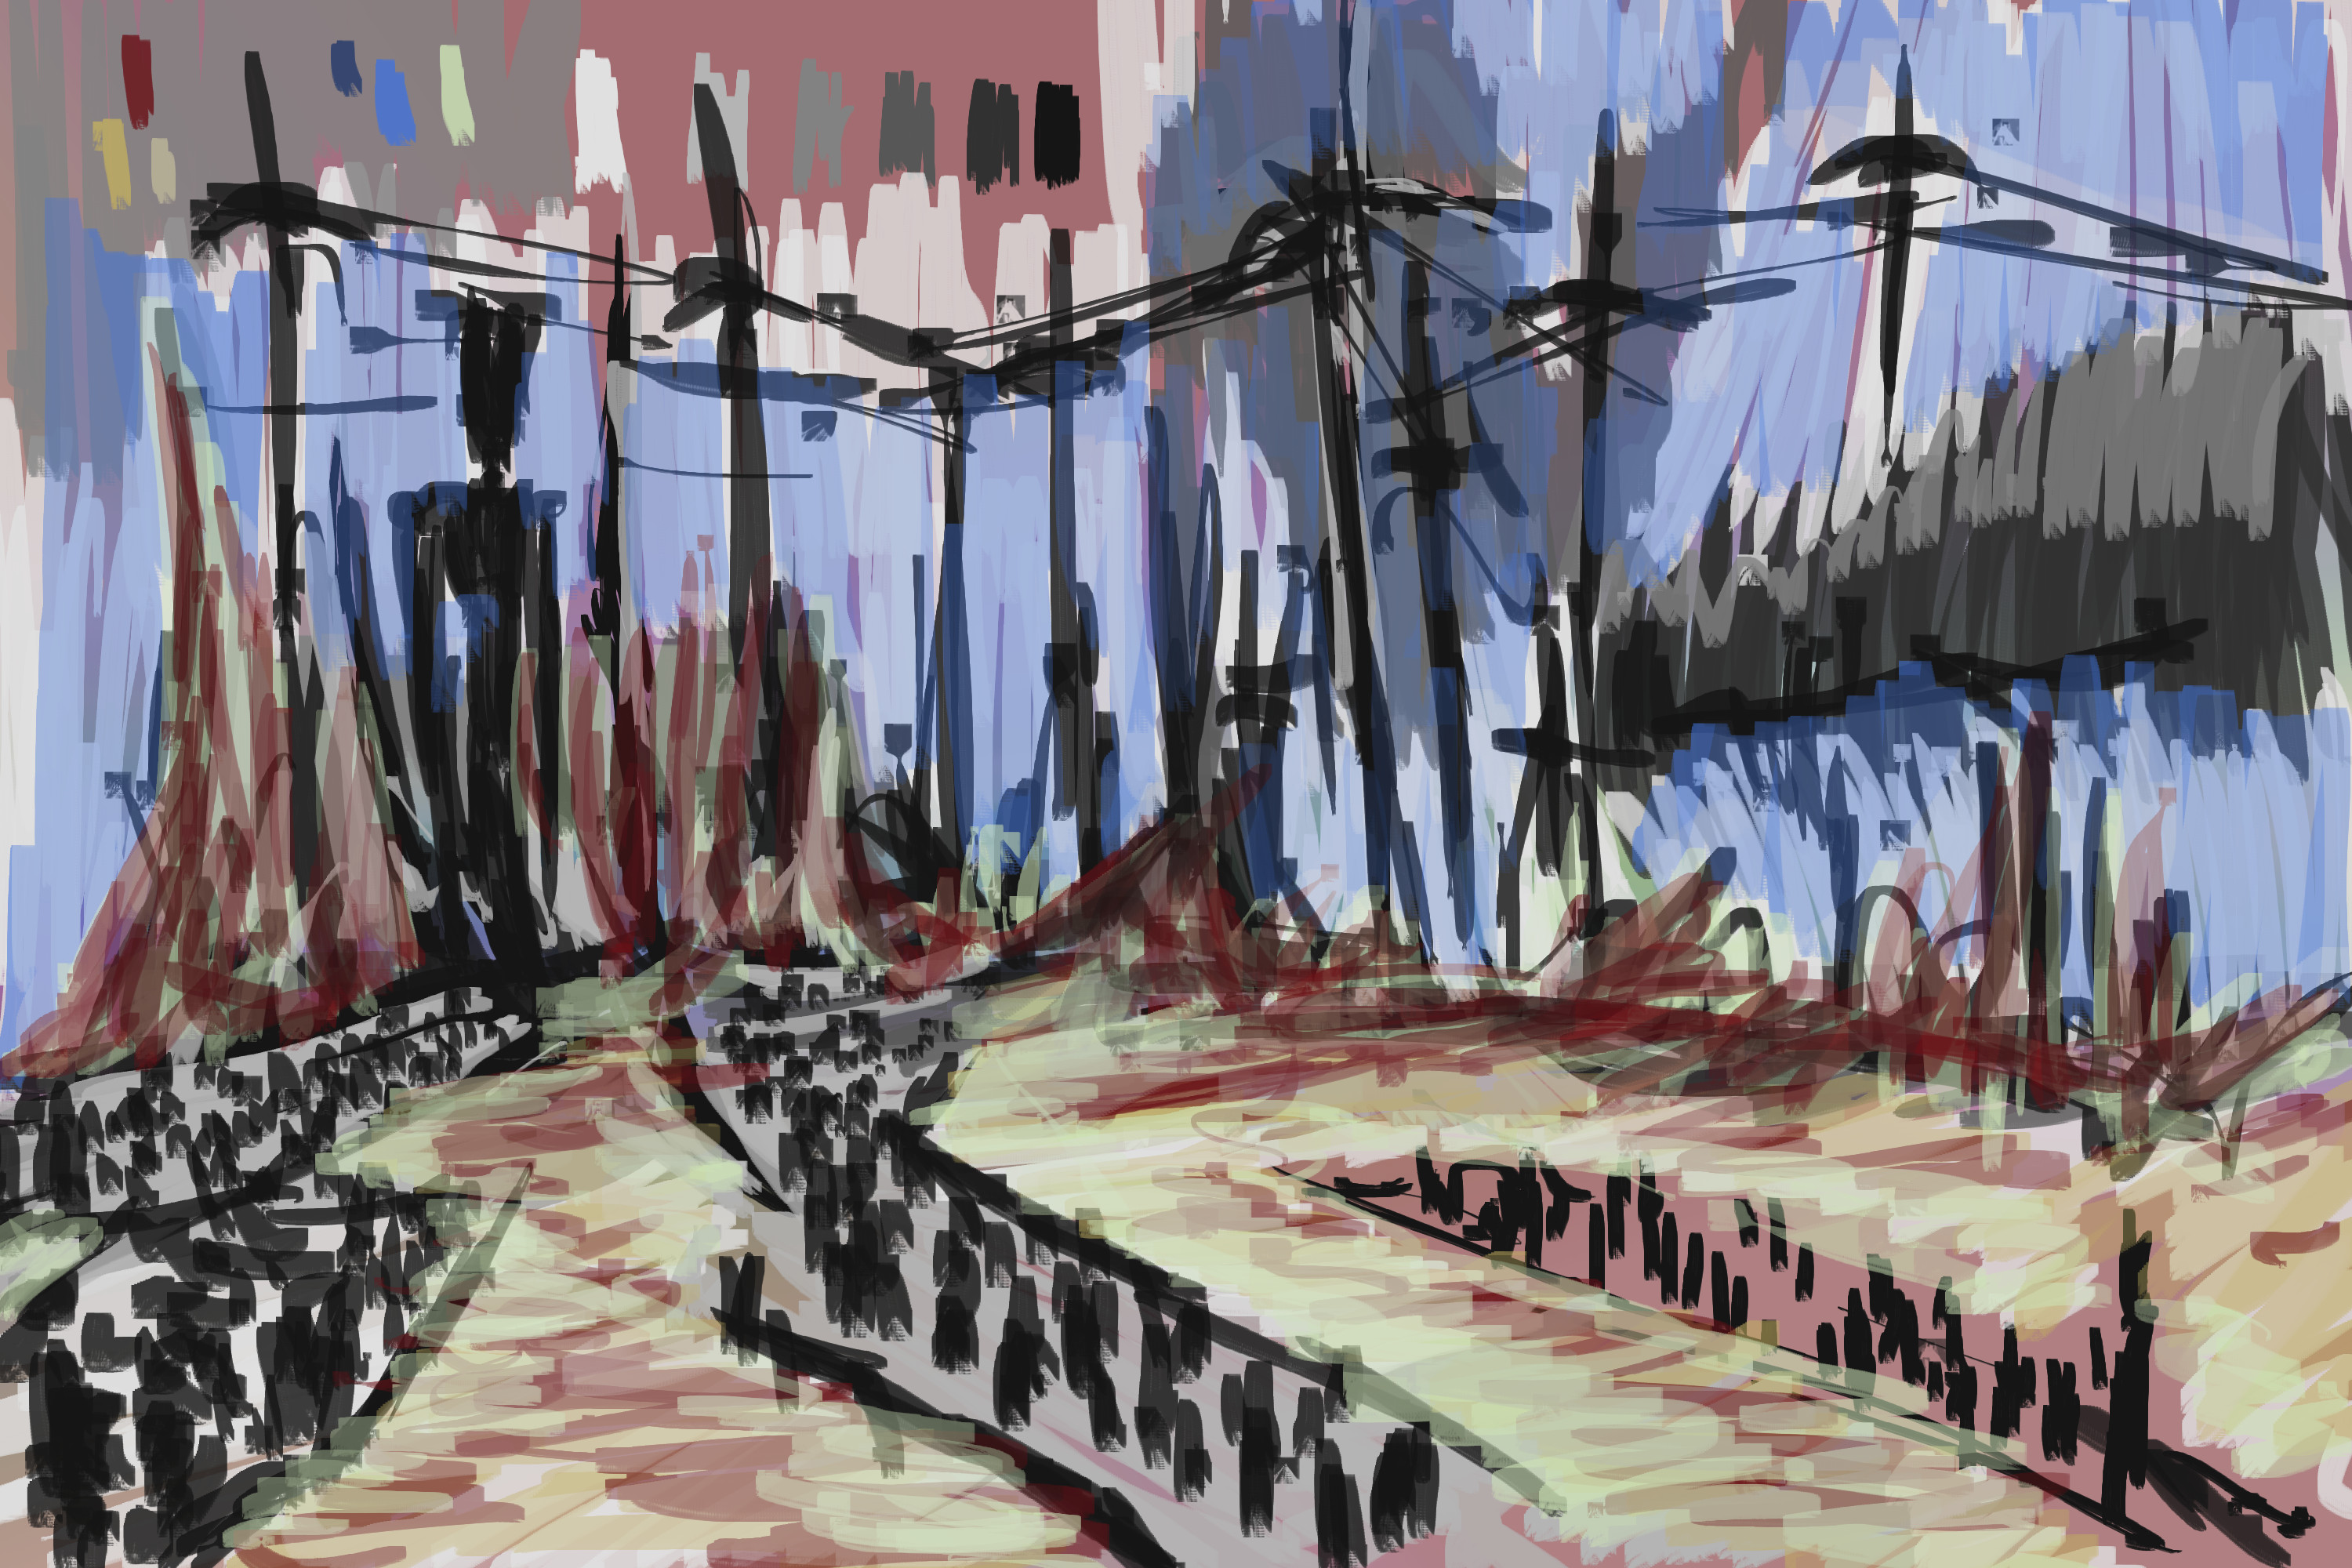
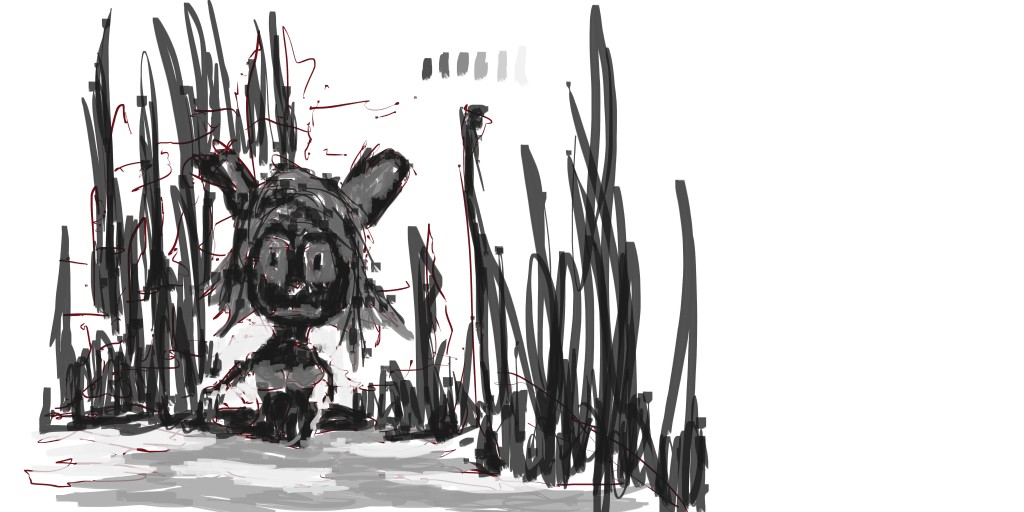
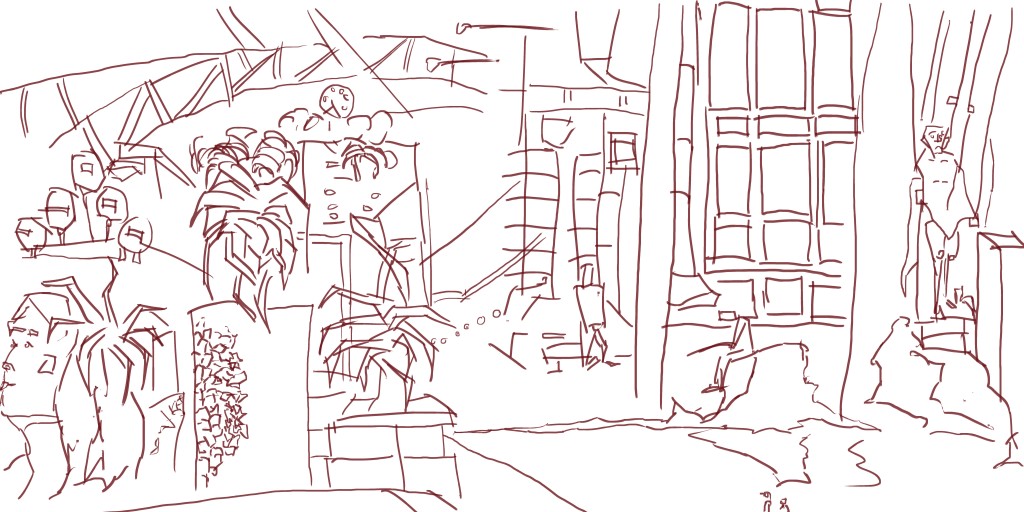
Line was minimal on this. Perhaps too minimal. I get better line if I mix reference together. Working with one reference isn’t enough. I added in a couple of characters to give the scene something more, and to show some scale.
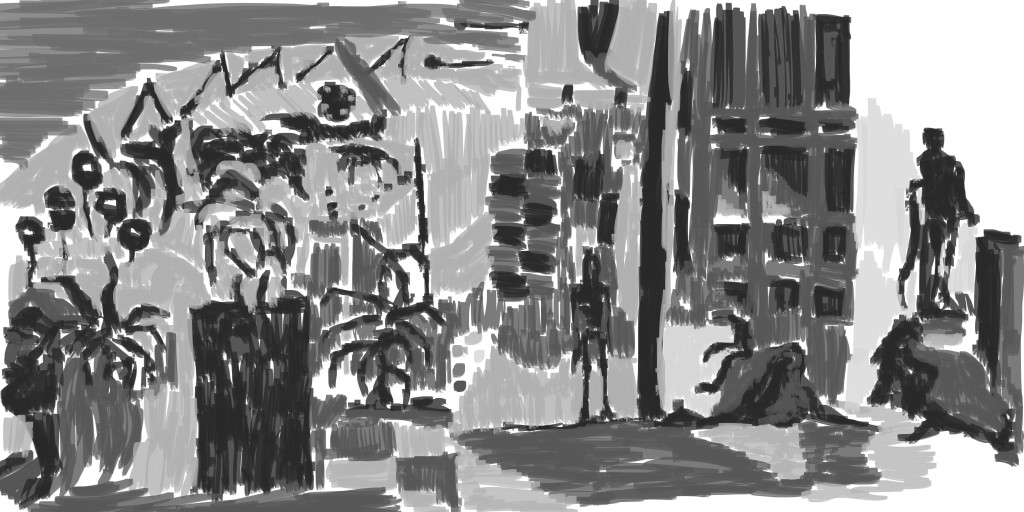
Tone to flesh the piece out. Usual techniques applied - started with the figures in dark and worked off there giving a range of tone to the piece. The vegetation looks strange. I didn’t use proper reference for it. Maybe I should of refereed back to some sketch book works?
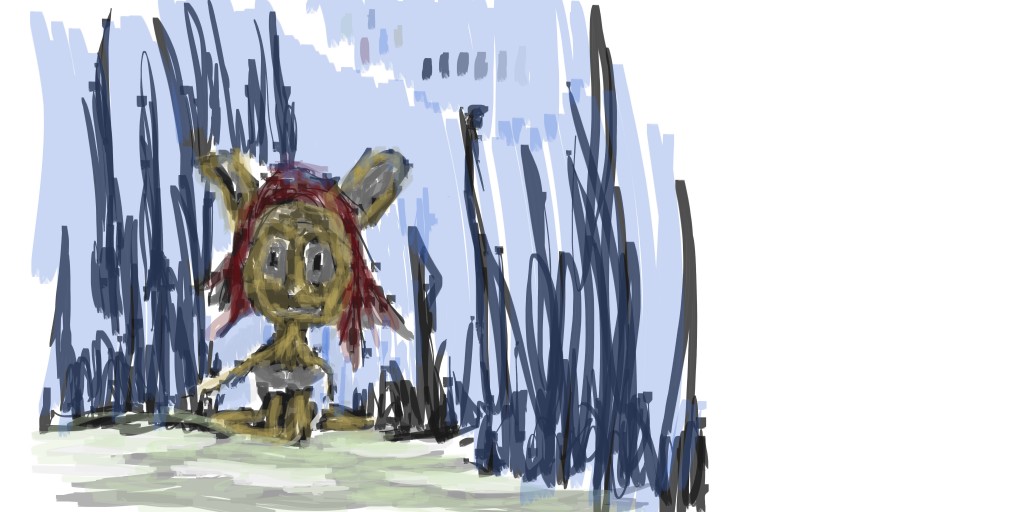
 Color. I had fun mixing the blue, red and yellow together. This was mainly on the vegataion areas - they parts that I felt were weak.
Read more →
Yet another painting. I’ve been doing a few. I want to do a painting marathon - maybe stay up all night and produce one painting every 20 mins. It might work better to make it a monthly goal. In one month complete how many paintings.
I know Feng Zhu suggests working on five paintings at the same time - spending 20 mins on each for an hour. In one day I need to paint 30 paintings. If each painting took me 20 mins I would need 6 hours. I use to life draw for 6 hours no problem so digital painting in that time is even easier. I think the problem I have is moving onto the new piece. Of course breaks and upload/export/blogging time has to be added. I may also want to spend more than 20 mins on some of the paintings - and that’s great if I can develop them further.
Once I have started a painting I generally don’t want to stop till I’ve finished it.
Let’s get into this painting -
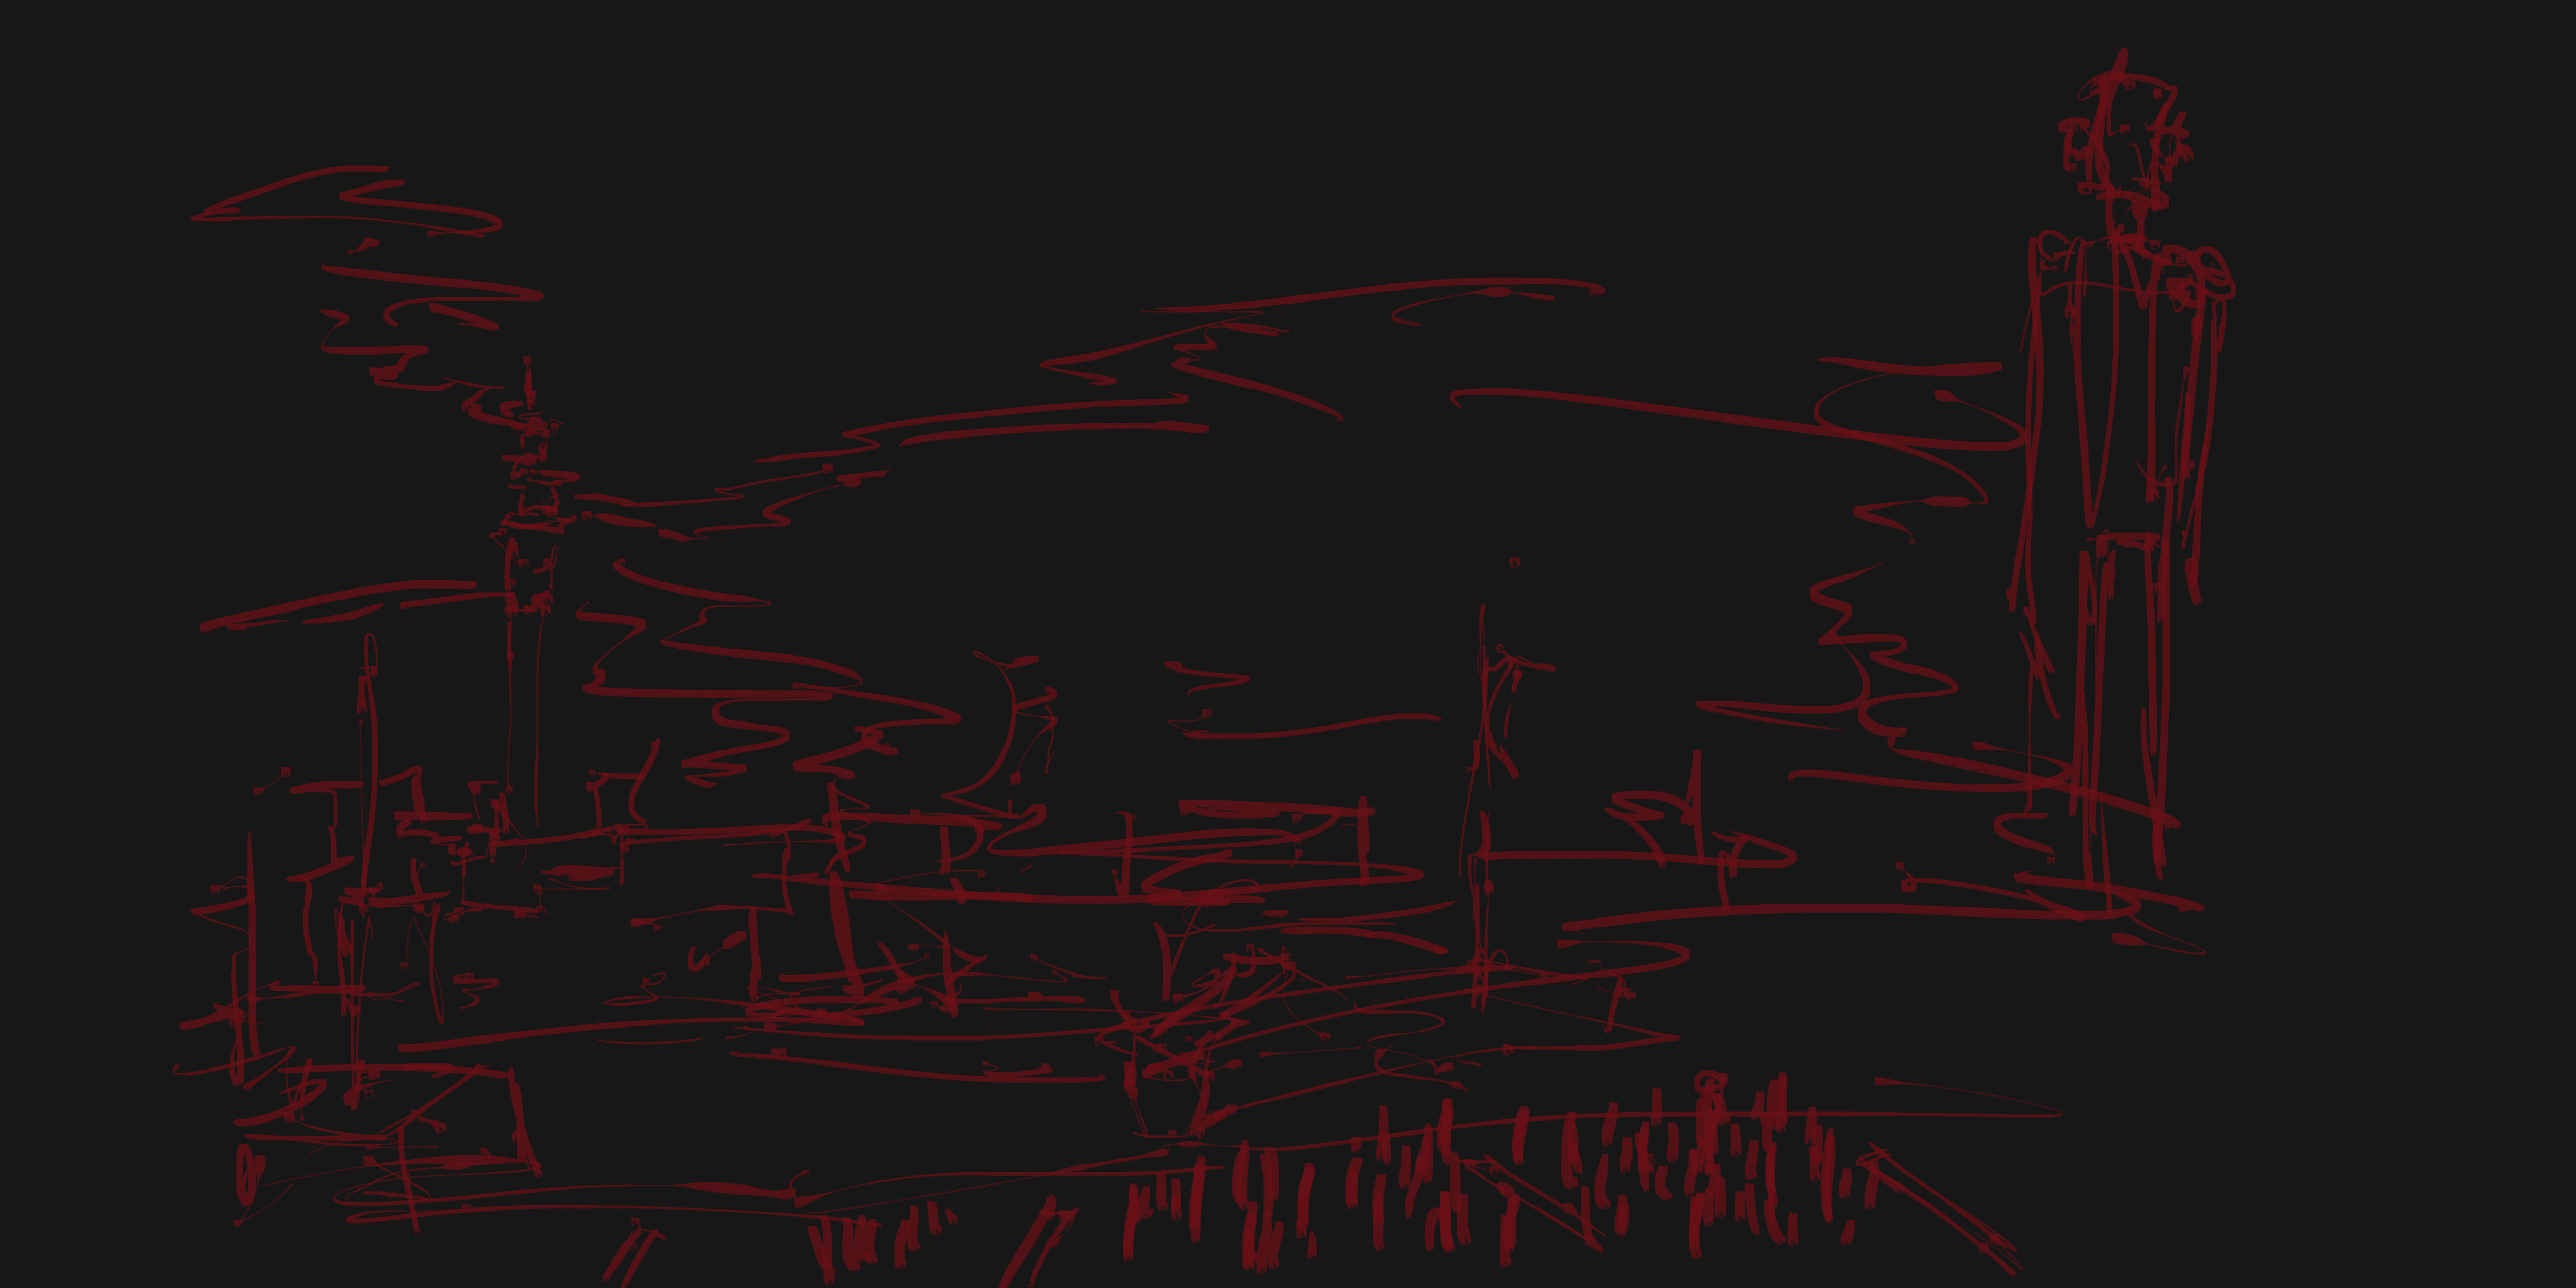
I worked differently with this. Not a large amount of changes - but instead of starting with a white background I went with this gradient. It’s several gradients layered - all the colors I am going to use. I guess this gives me a base to work from. From here I can just build up the scene. I need to do this same idea with Alchemy paintings.
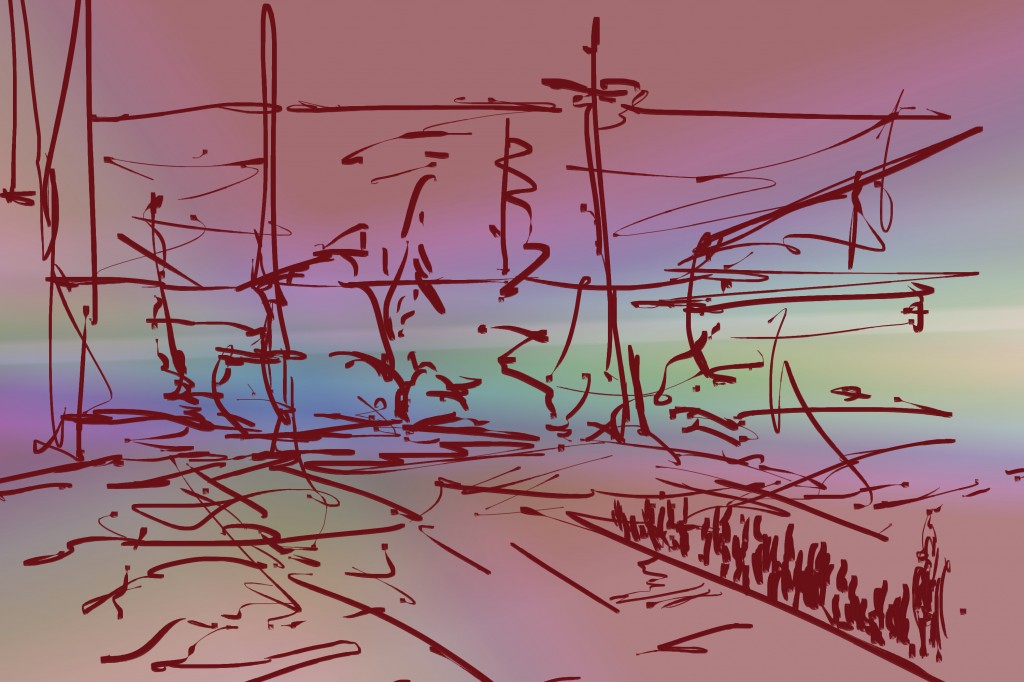
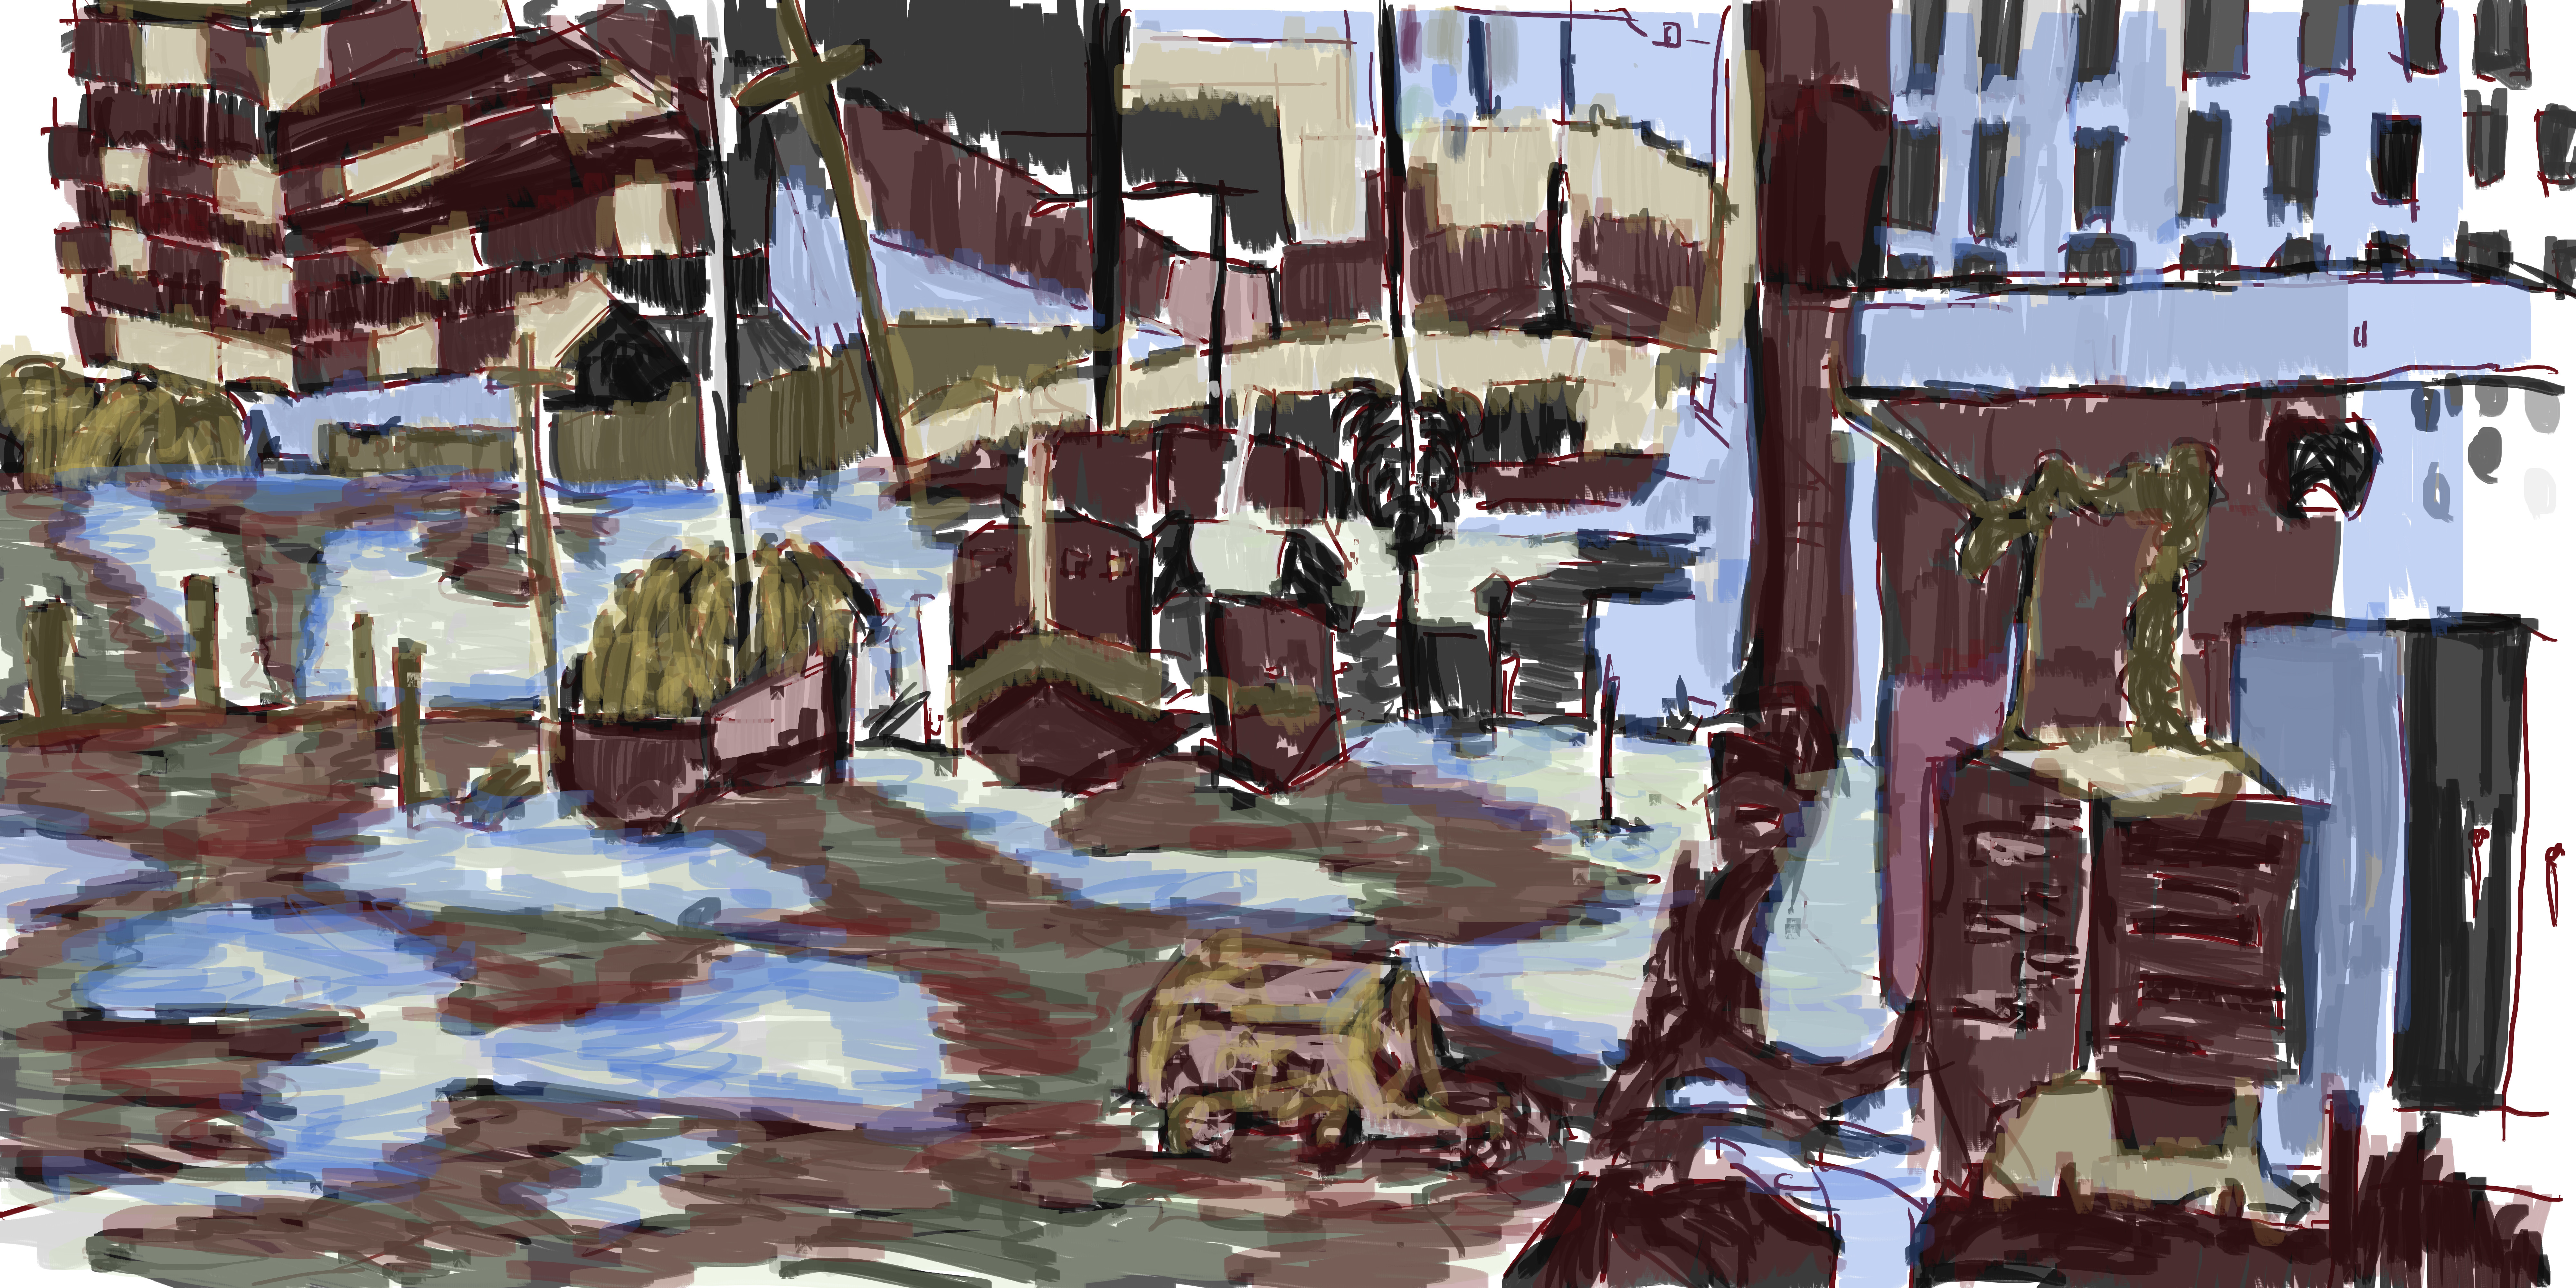
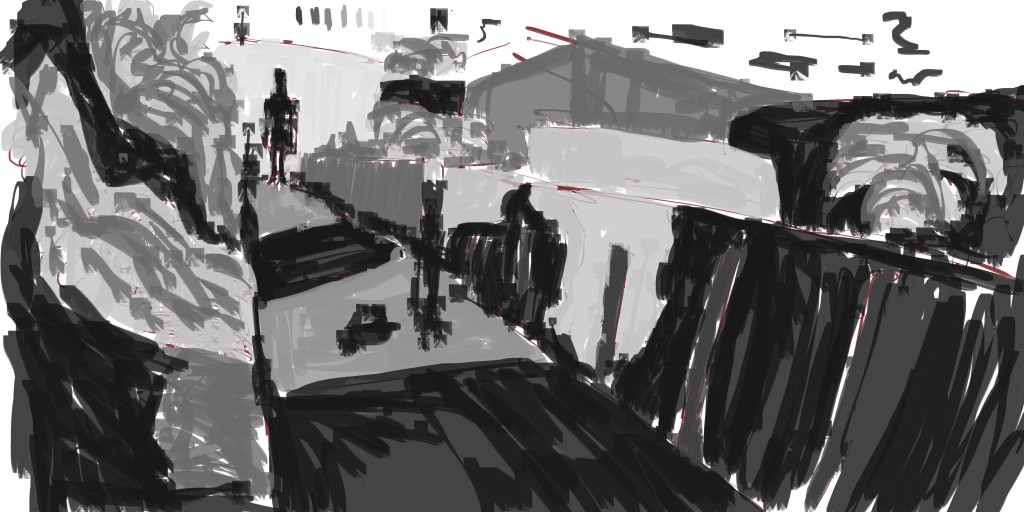
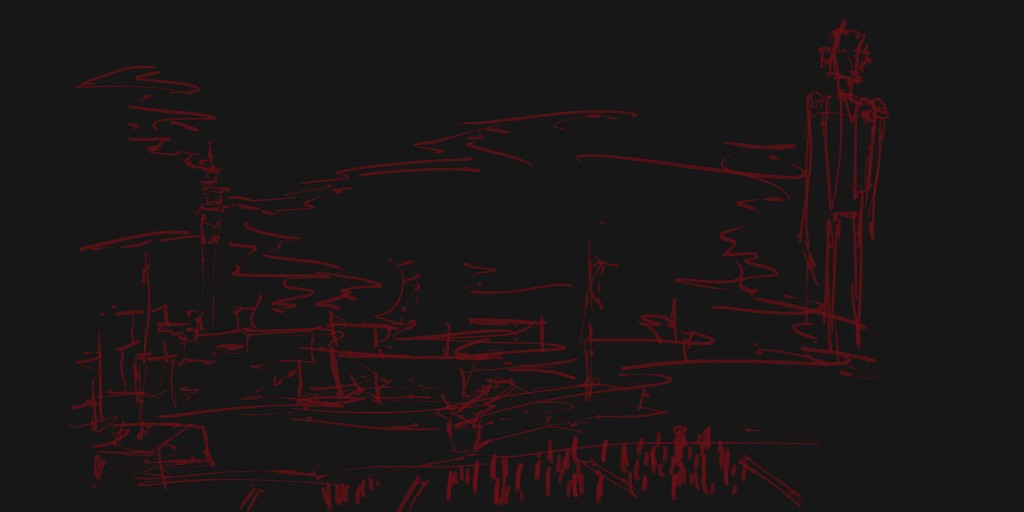
I went with the water and ship idea again - this fits with The New World sub-theme I sketches in lines in random directions in order to create a scene.. For the people I used thicker blobs. They look like they are traveling to the land on a ship. The background has long skinny structure’s - they could be poles or telephone lines.
I went with the telephone line idea for the structures in the background.I like the loose, rough nature that I’ve got - especially with that black. So what’s in the scene?
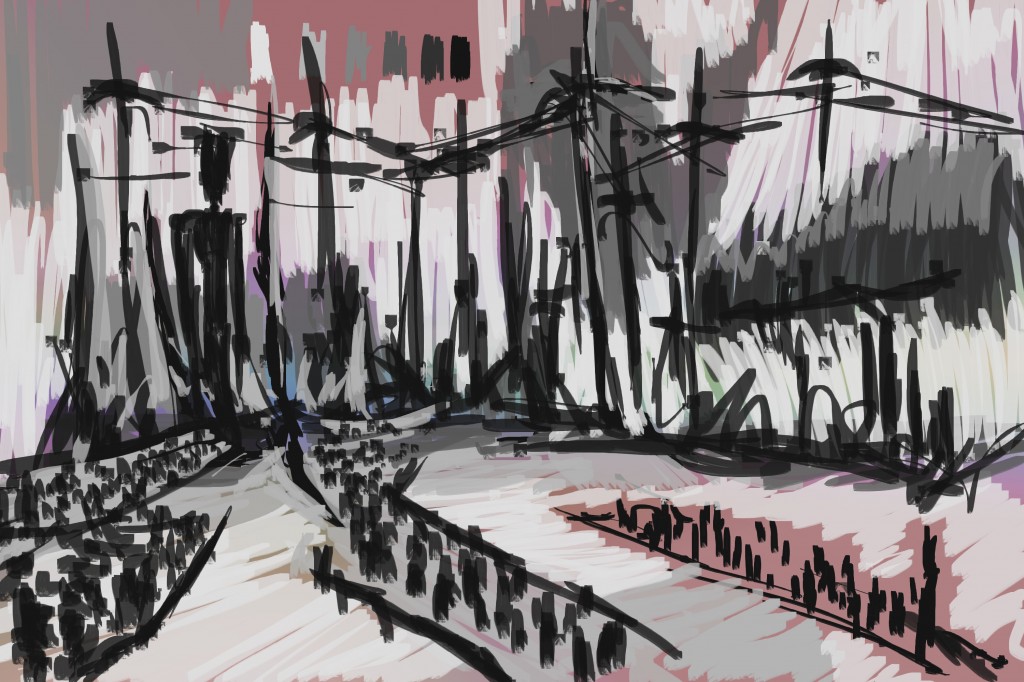
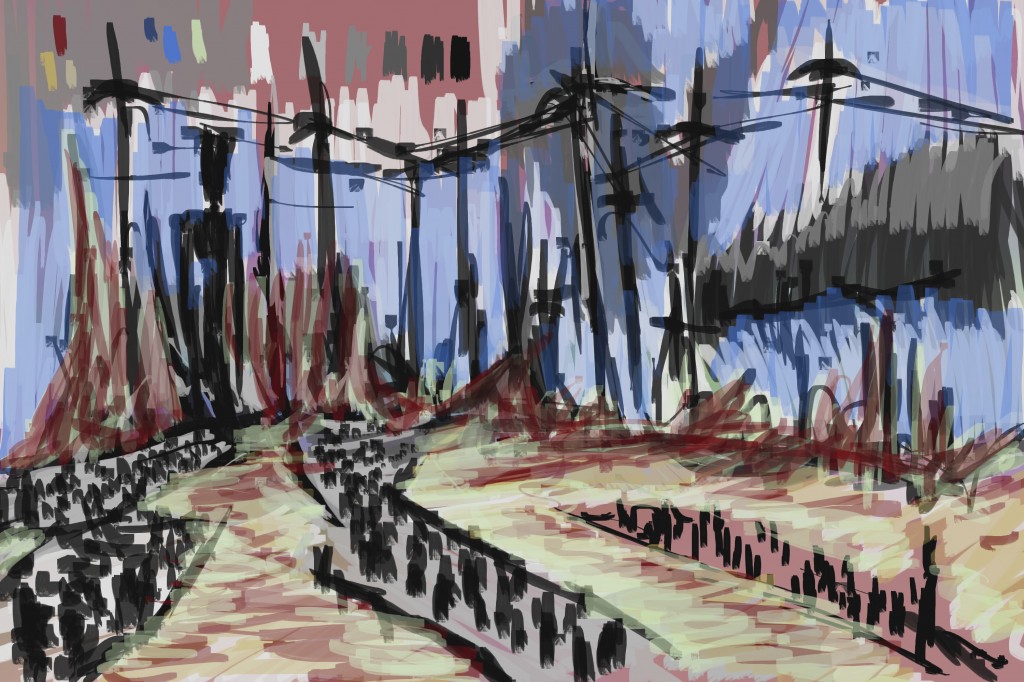 Color added. I decided to balance the color - especially that red that can be dominated in areas.
Read more →

Read more →
Read more →
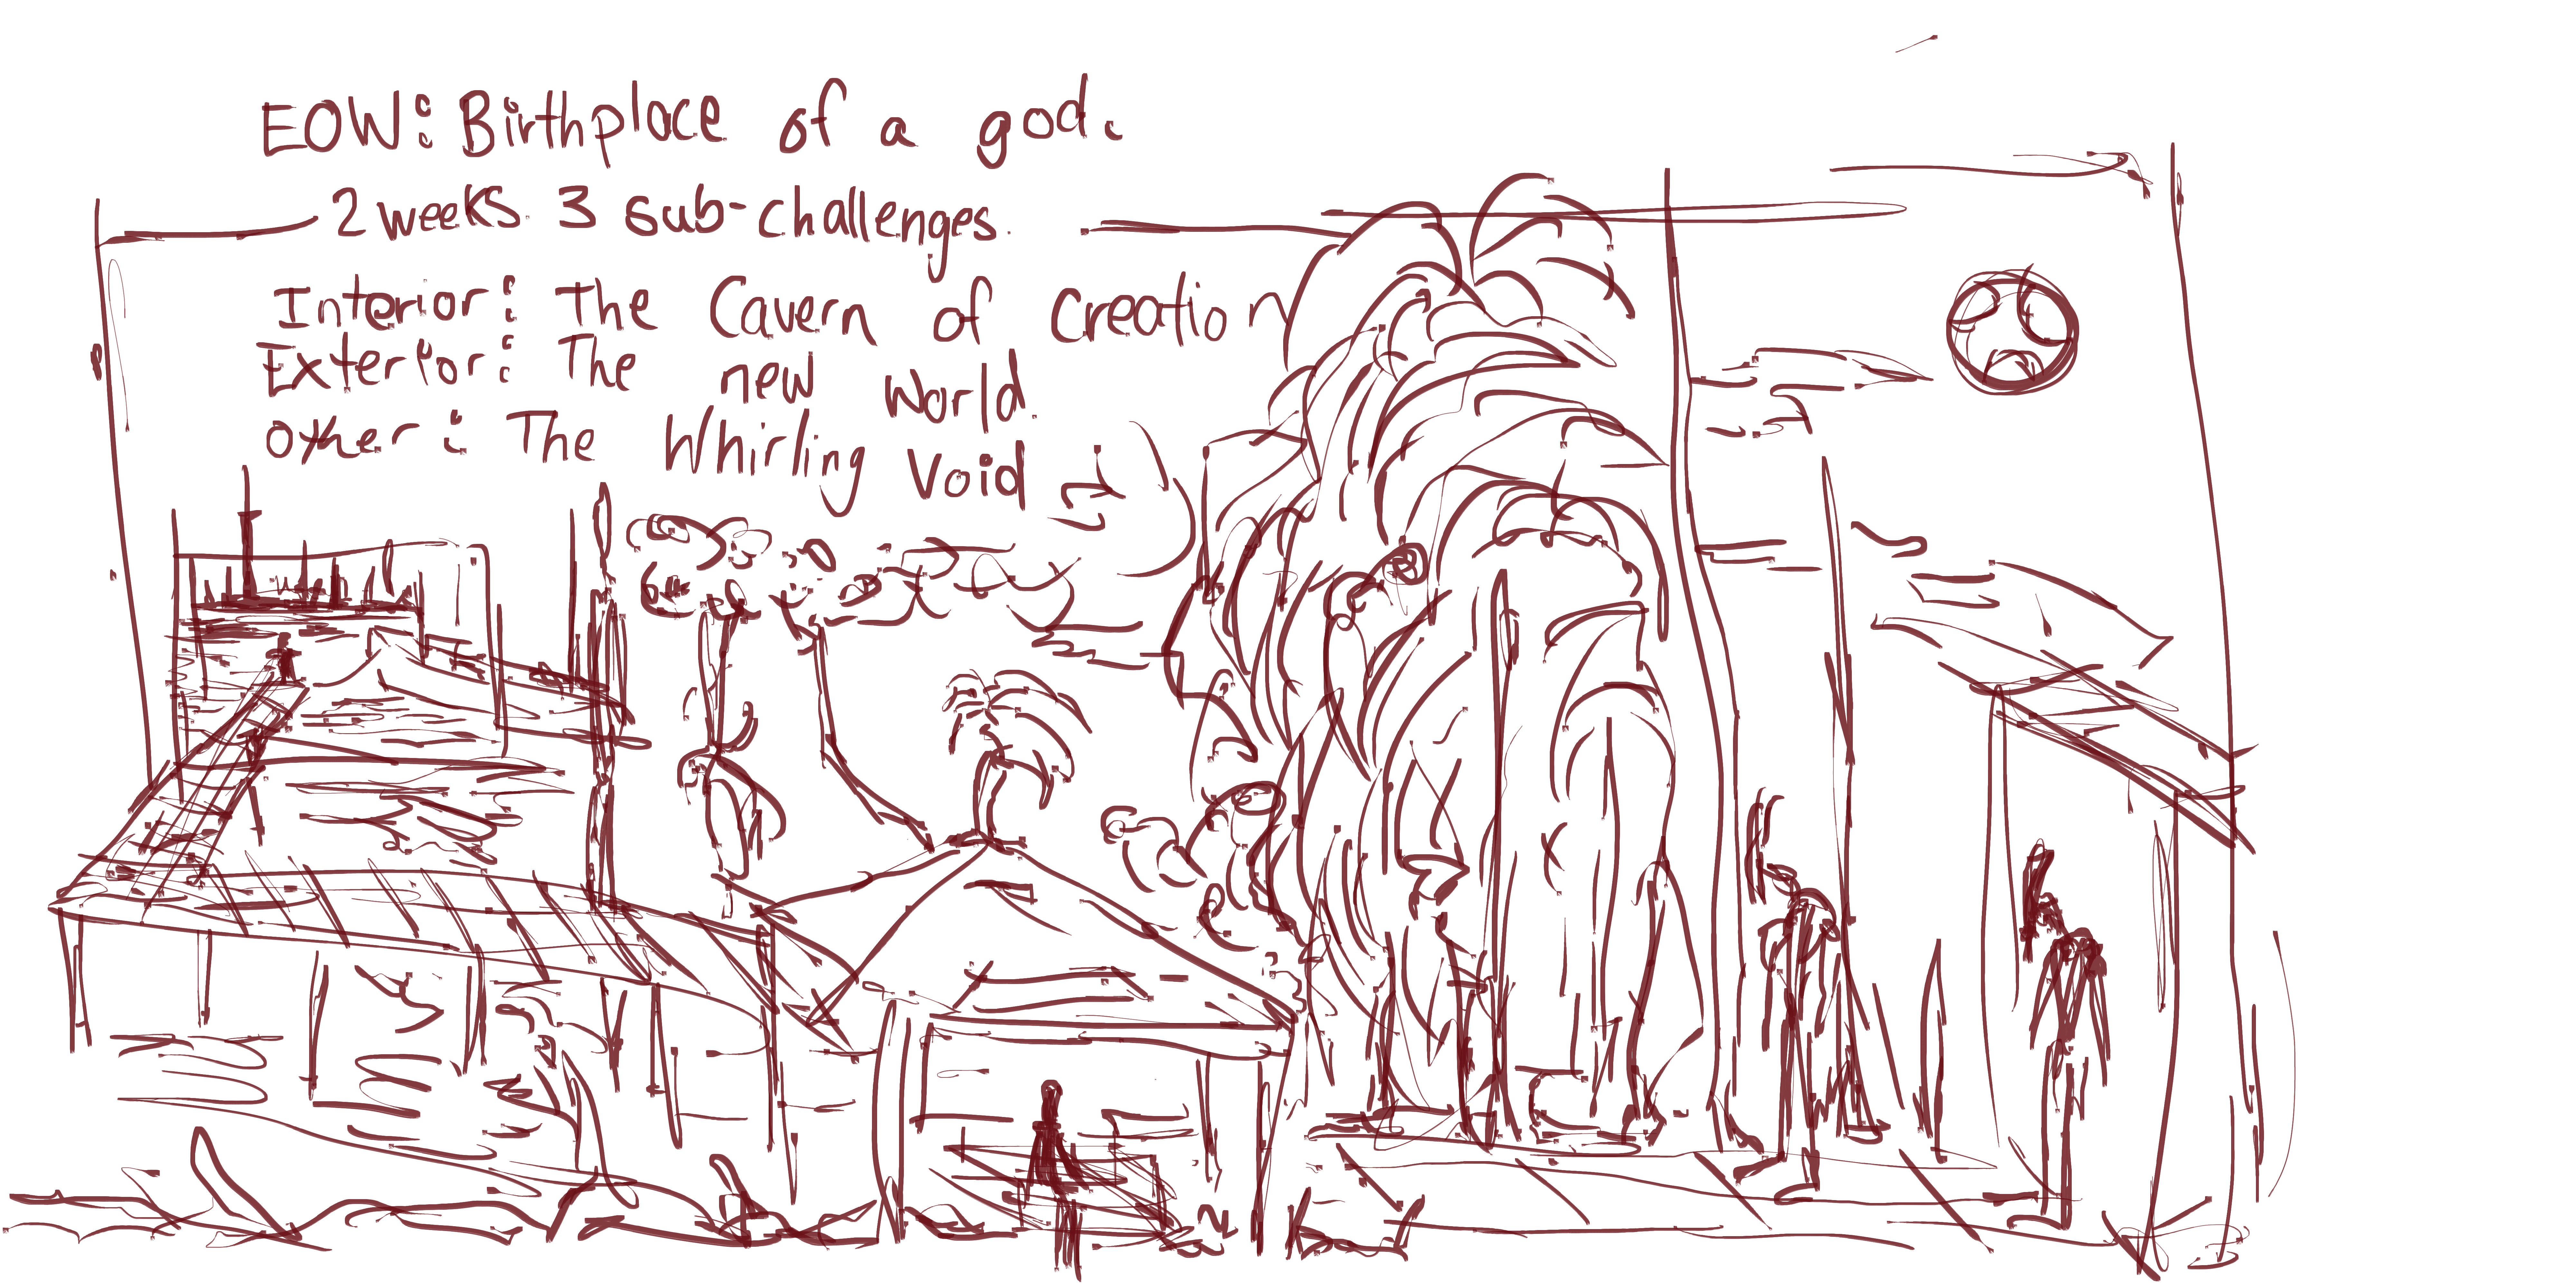
I’ve been following the Environment of the Week for years over on Conceptart.org, but rarely brave enough to enter. This morning though I warmed up with that birthday card for Erik then afterwards got straight into creating a concept art painting for the EOW. The reference I used for it was of the Auckland waterfront, but I used the reference very little. These are certainly not finals - but it’s a great start.
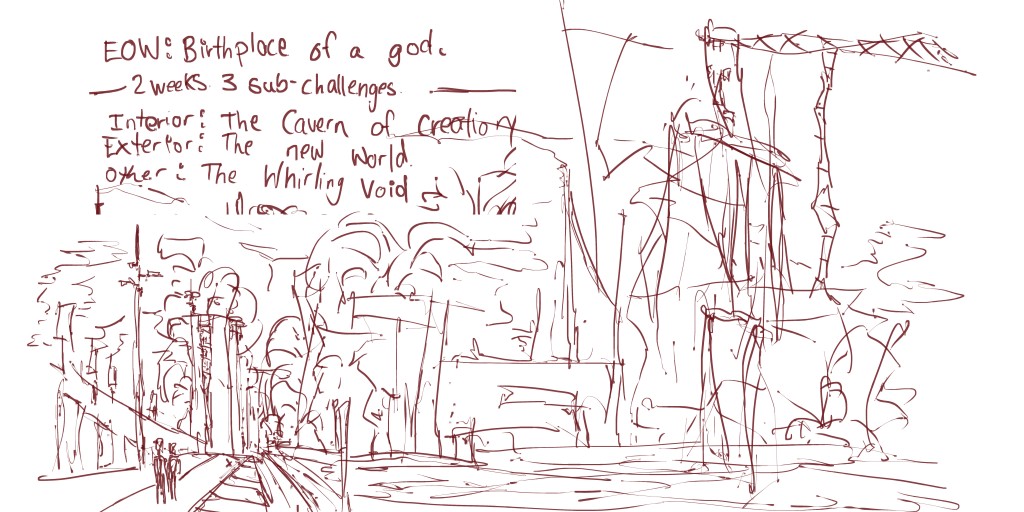
Here goes -
The reference used:


Reference thanks to my stock images over on FreshFigure 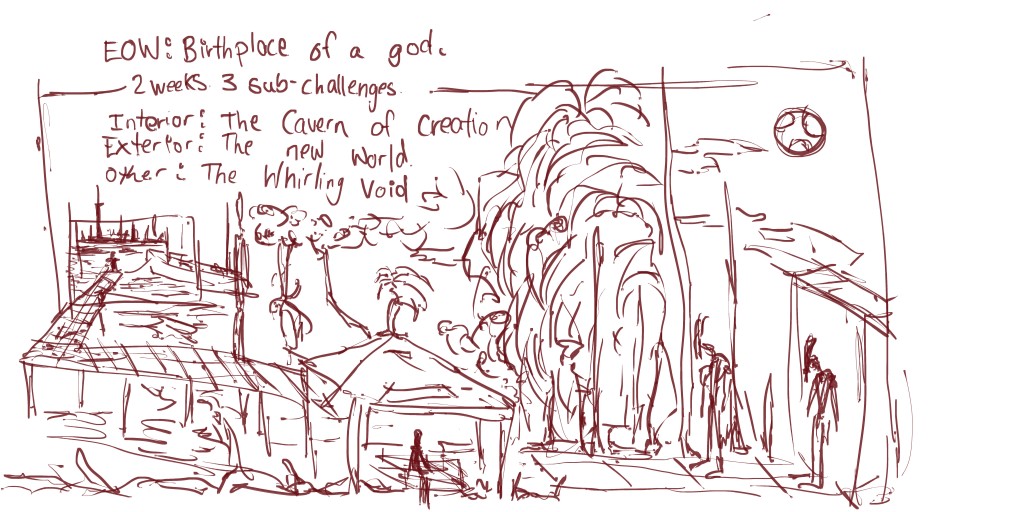
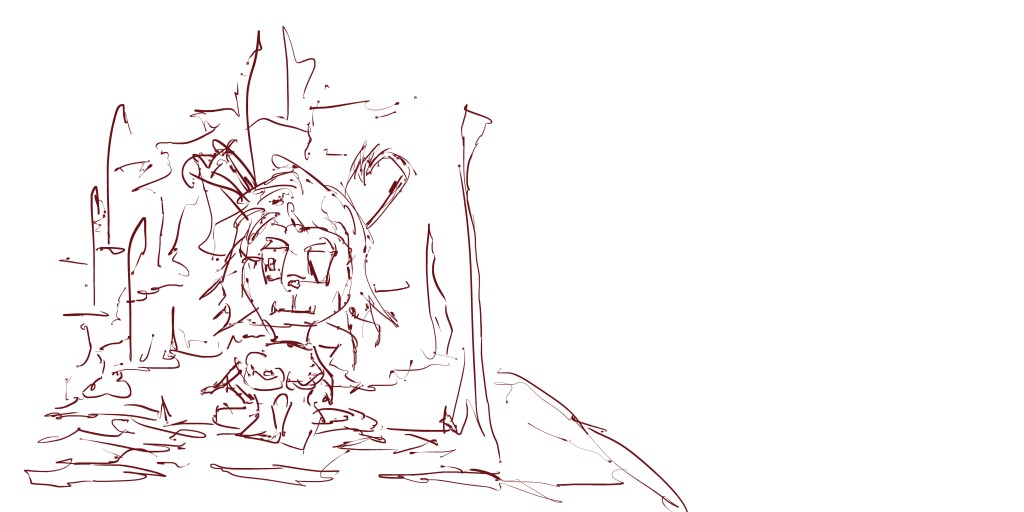
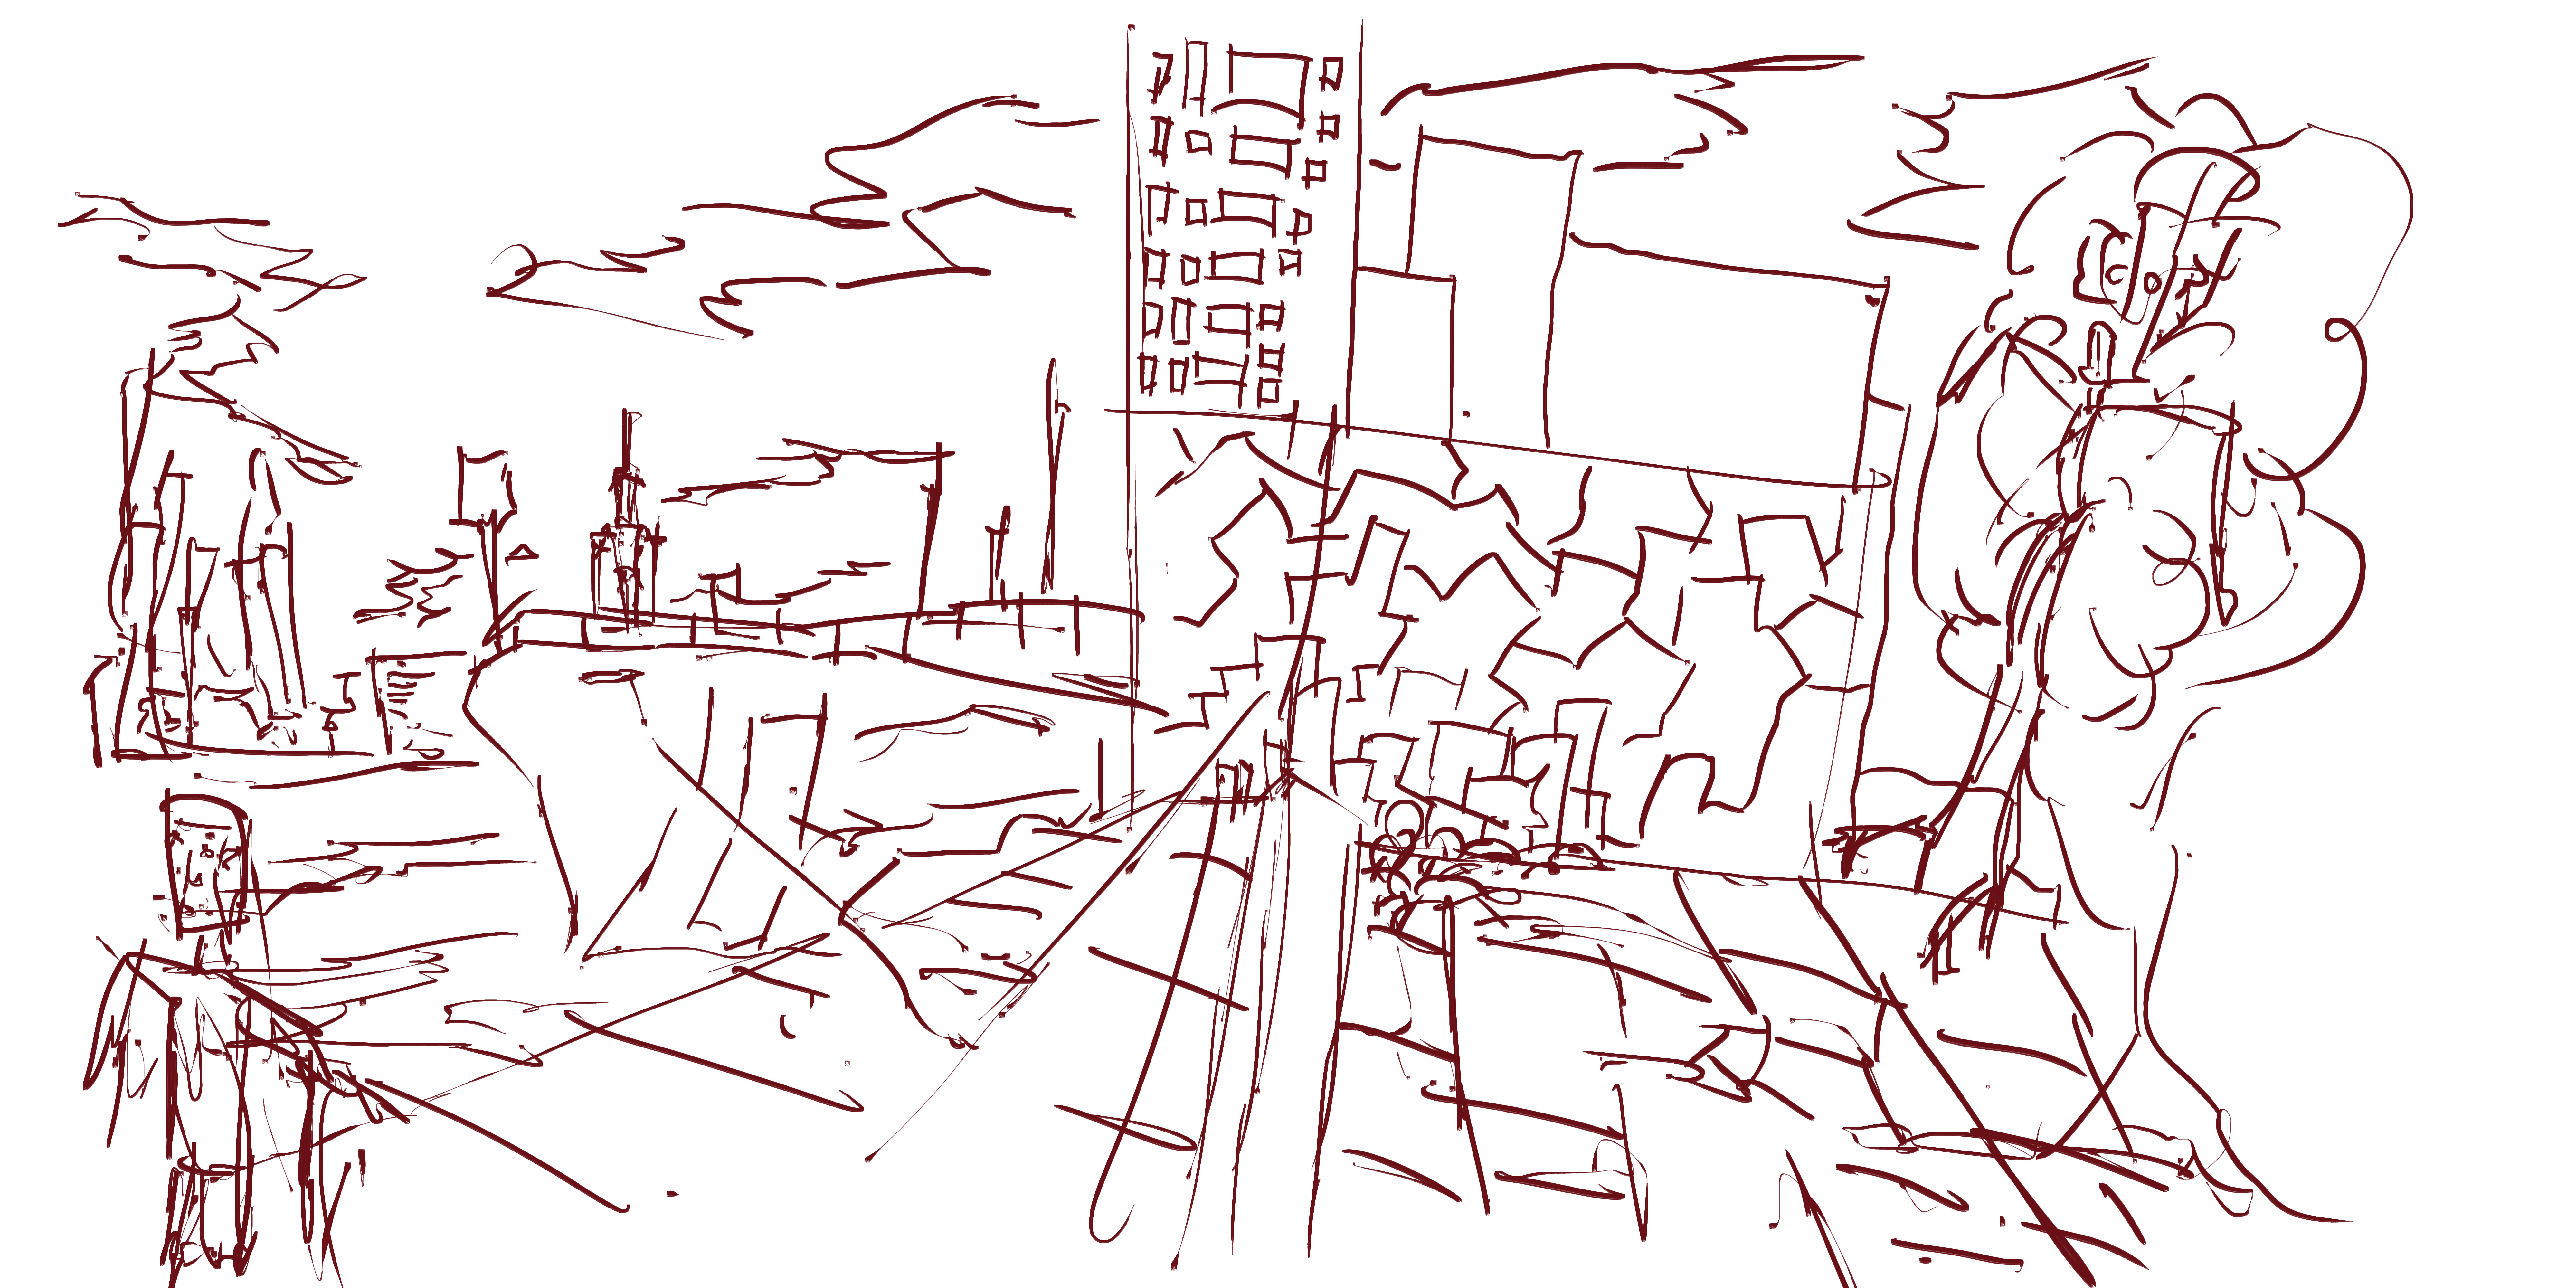
I started this with using my first reference and creating a small thumbnail on the left. This extended and I build the scene from that. Though I started this as an exterior work it developed into Cavern of Creation. The idea was to have these figures travel on a escalation - being created. This is why there is a guzabio in the middle. I guess that character could be the queen.
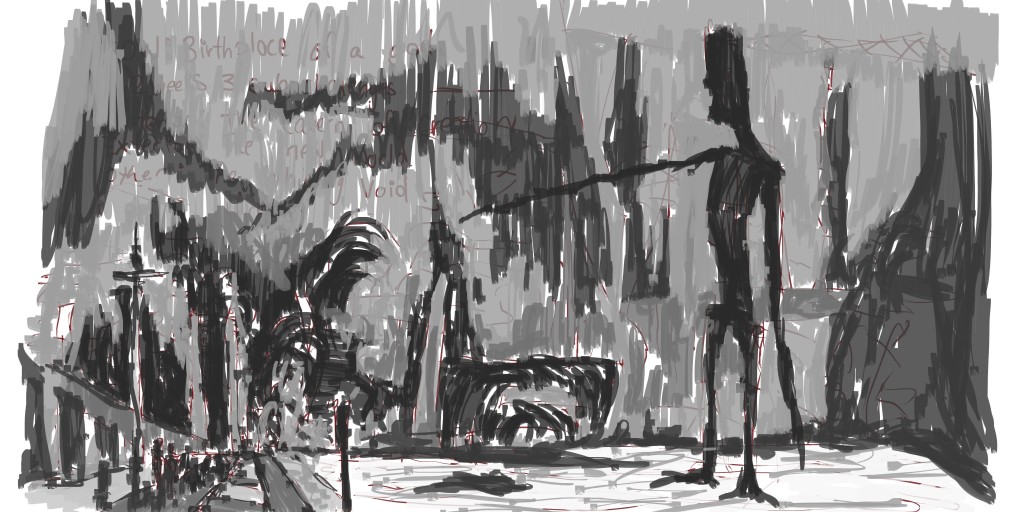
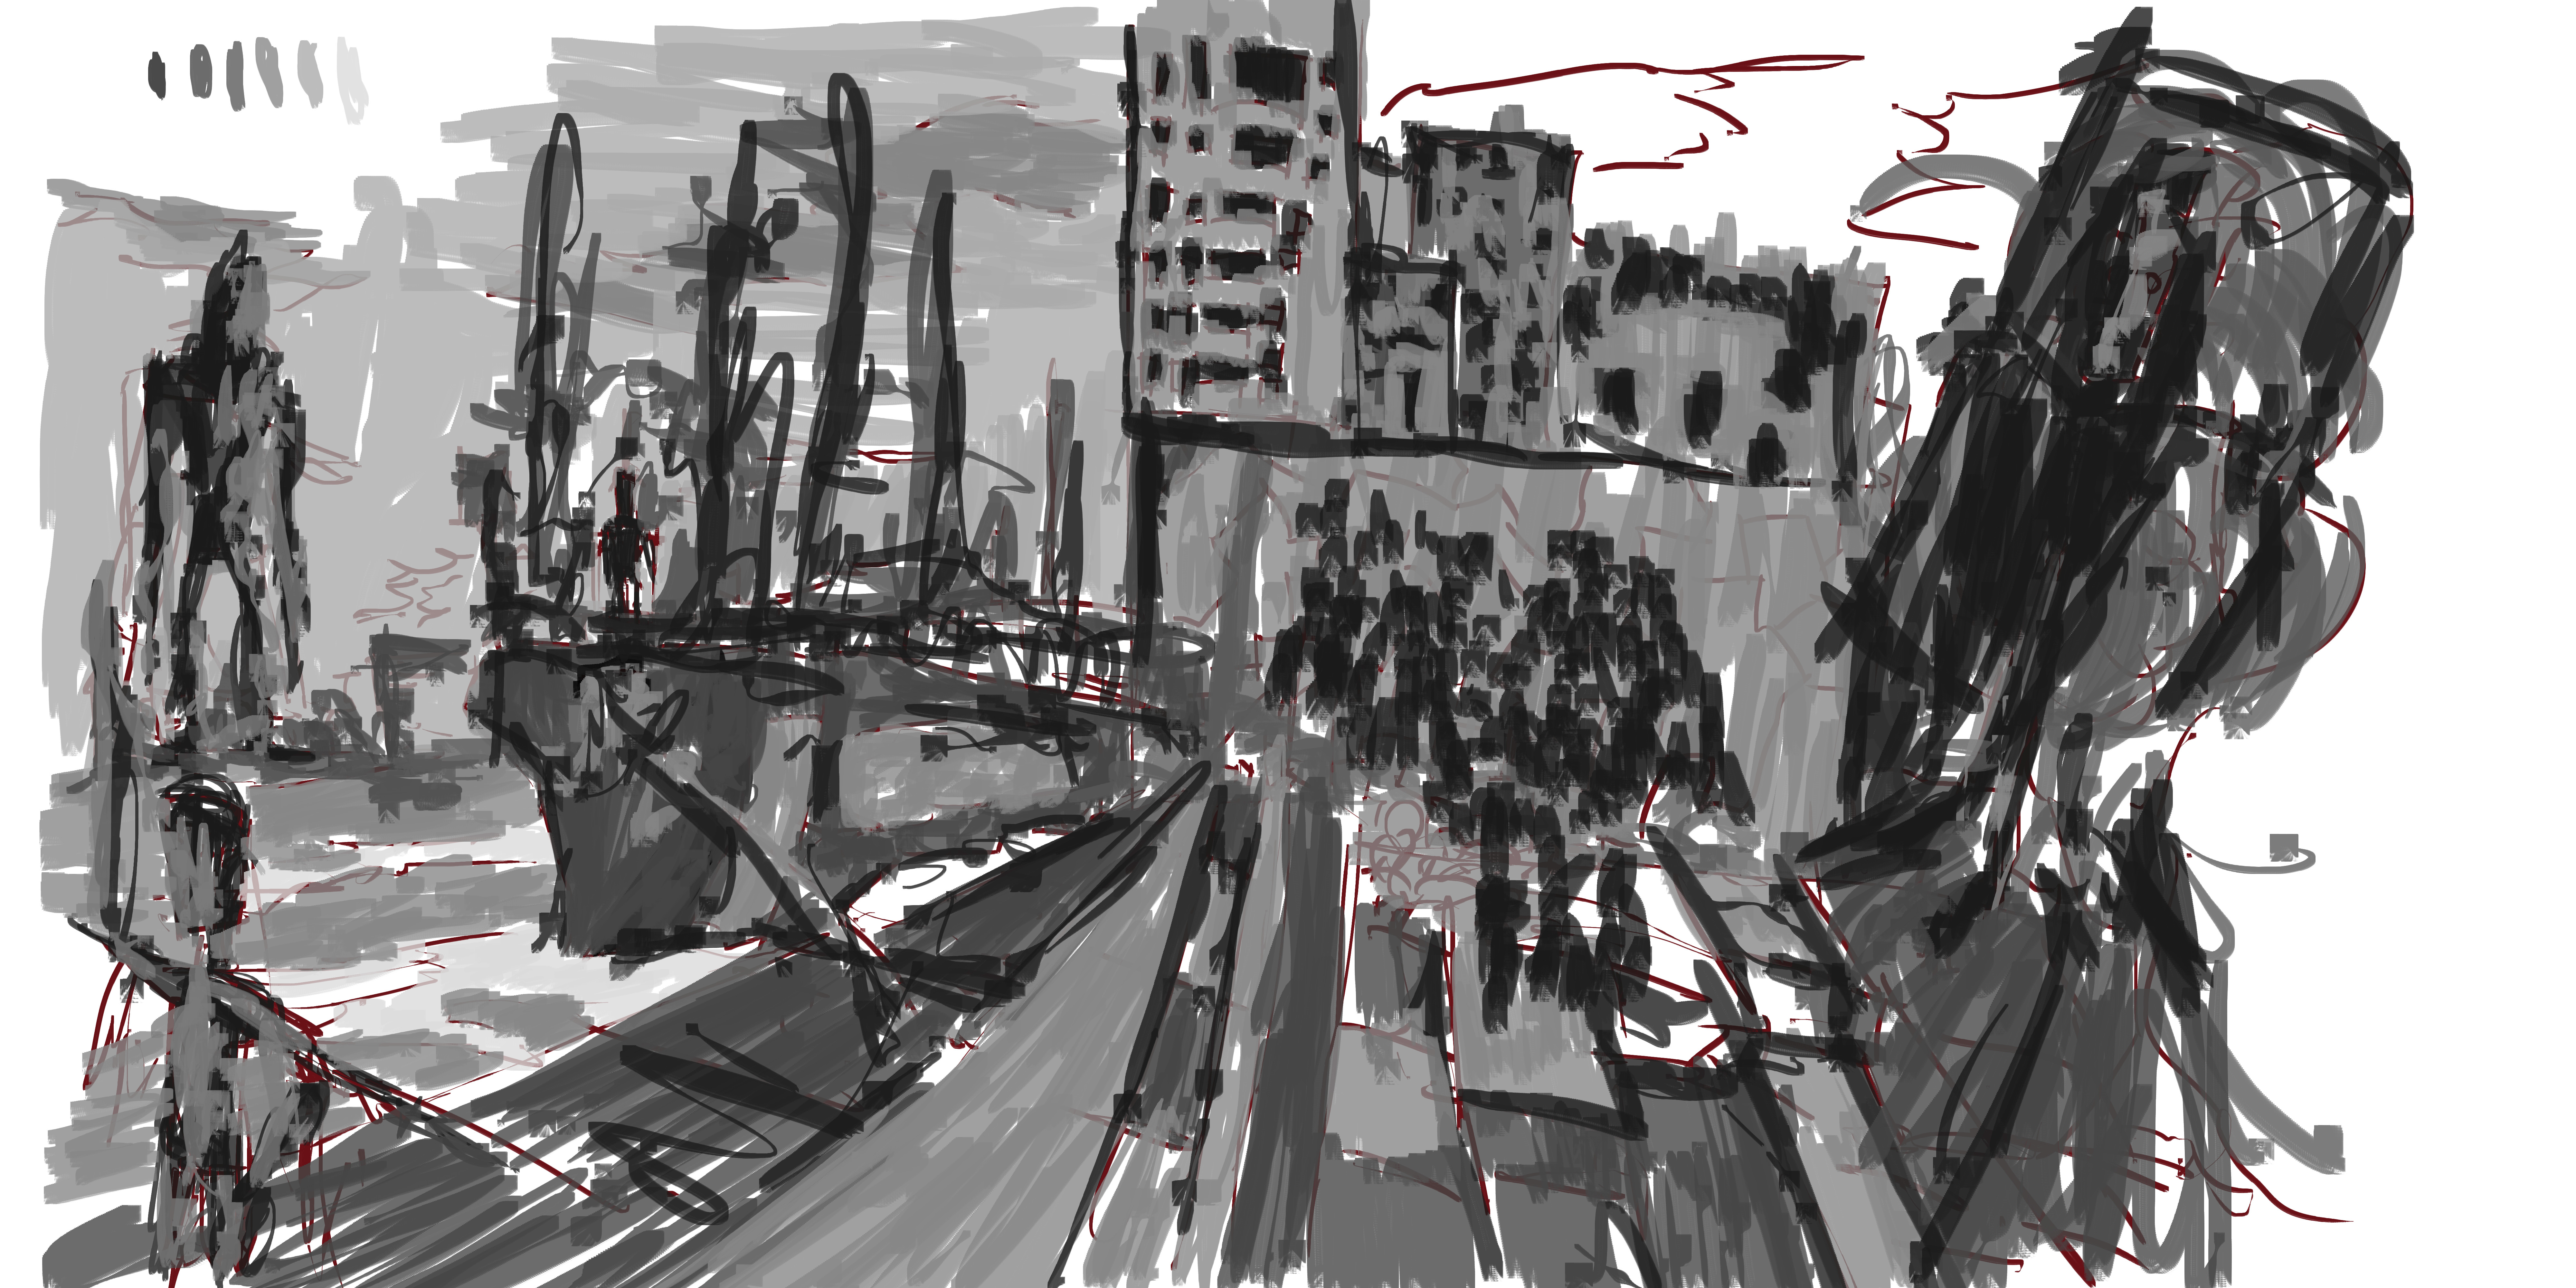
Tone added. I wasn’t happy with this. Maybe it needs more darks in areas? Anyway, it’s unfinished and I moved on to the next one. I’m just treating these like thumbnails.
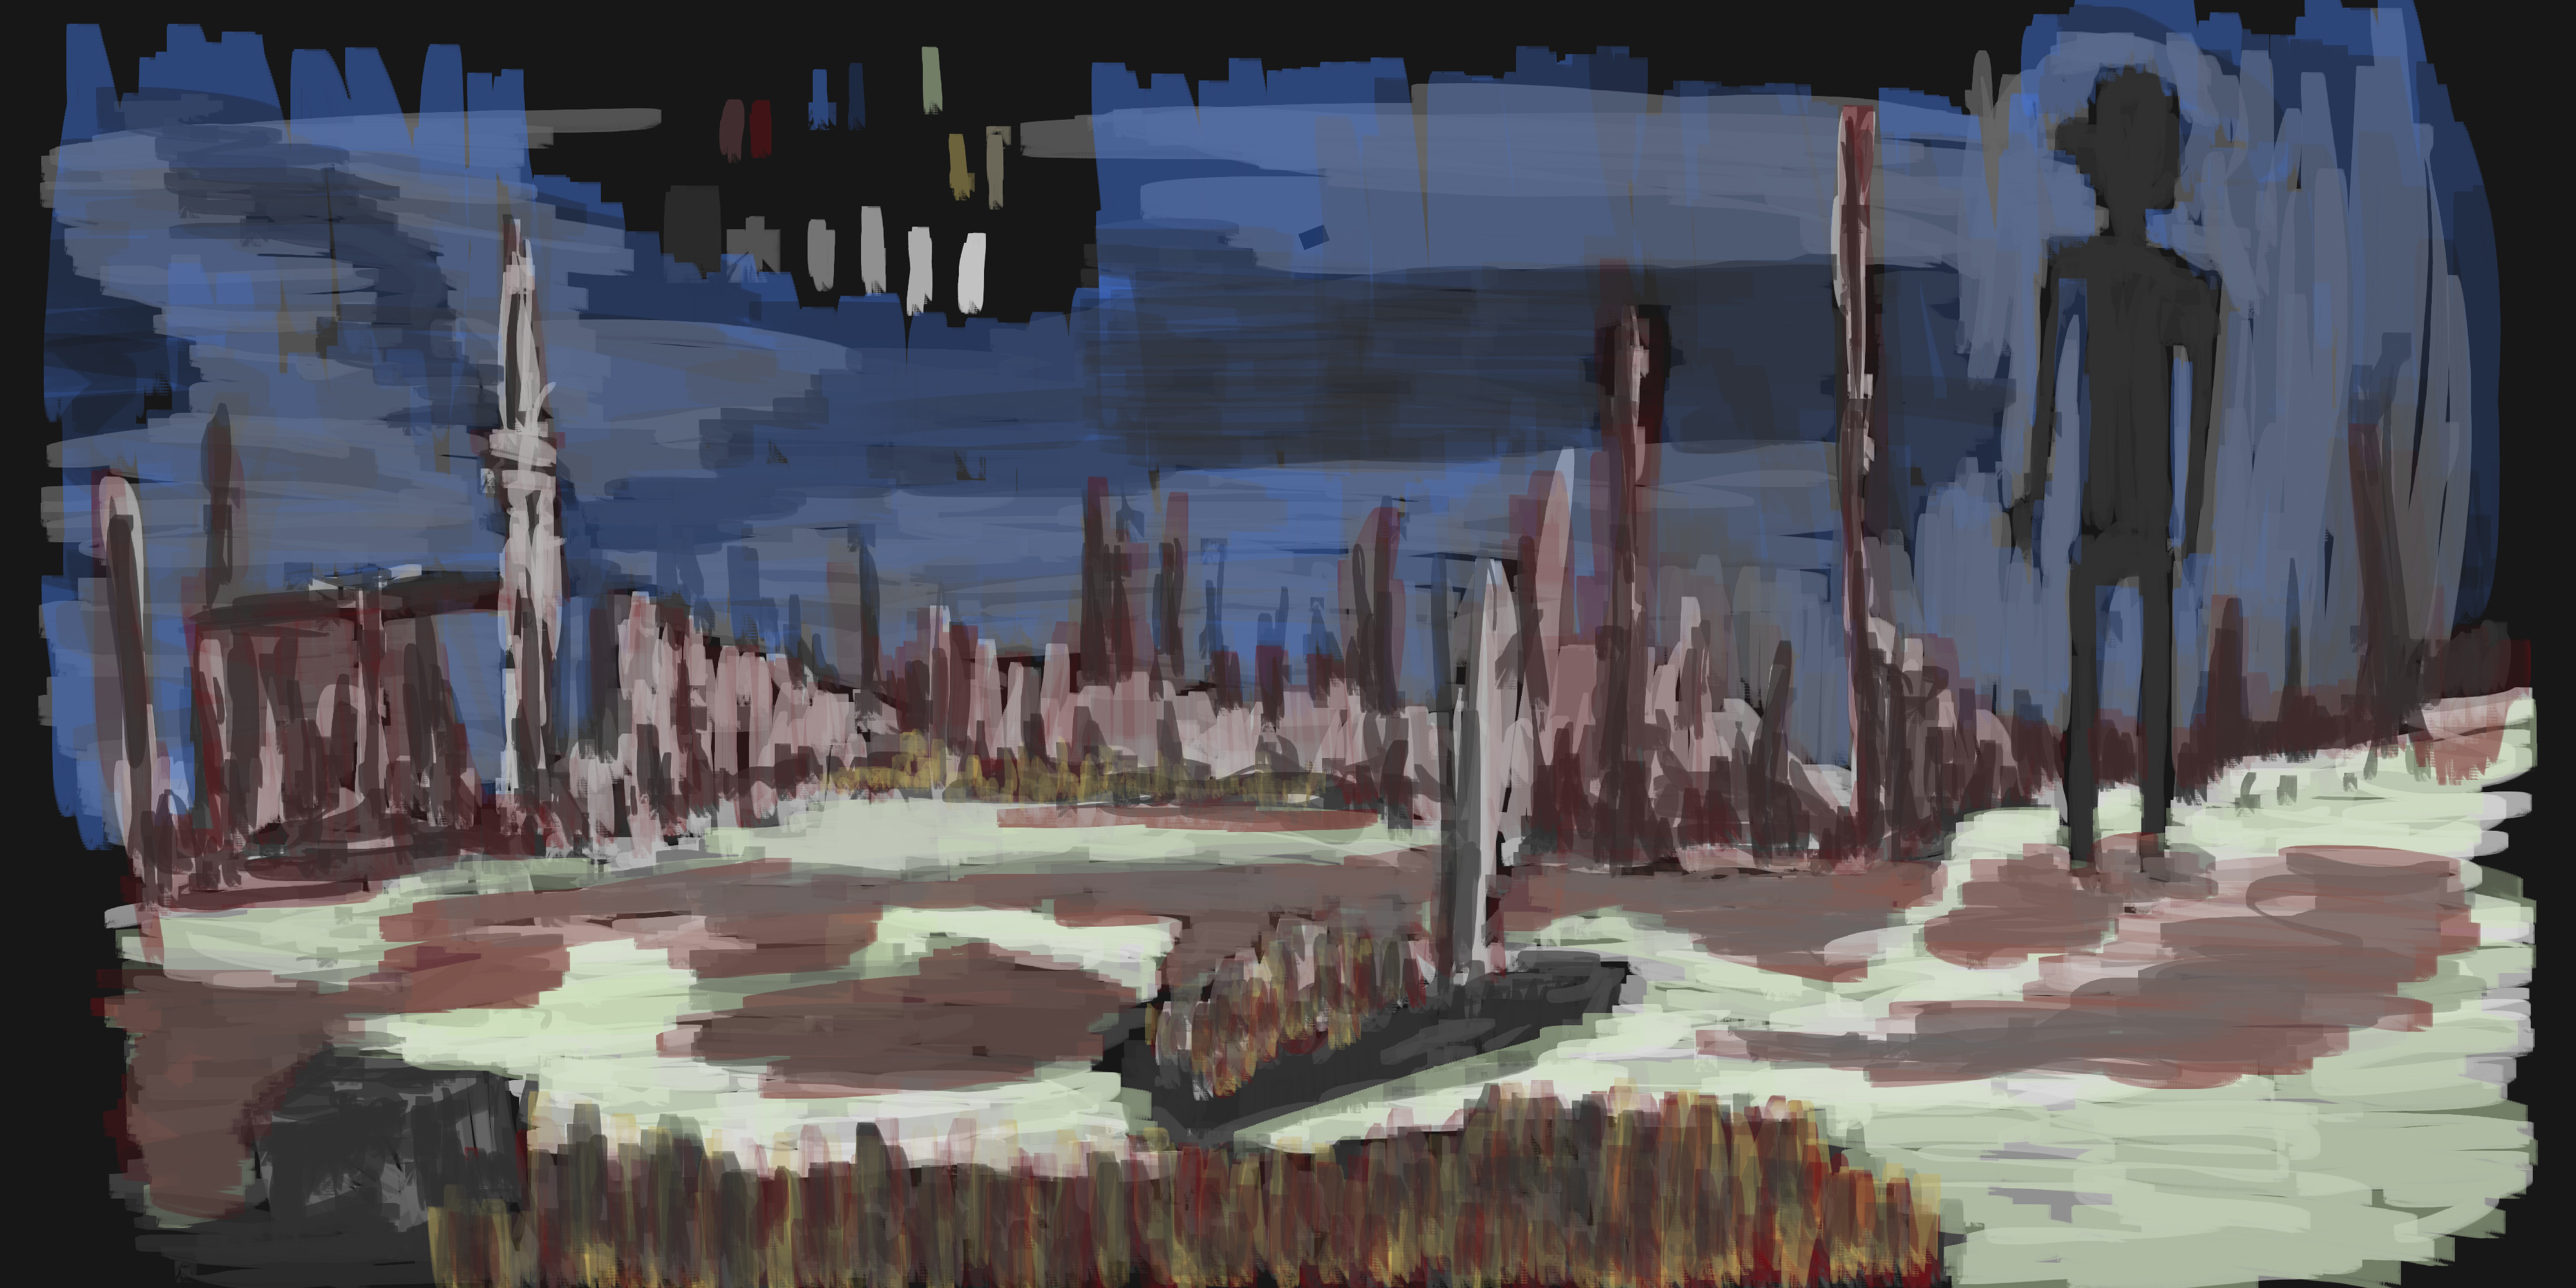
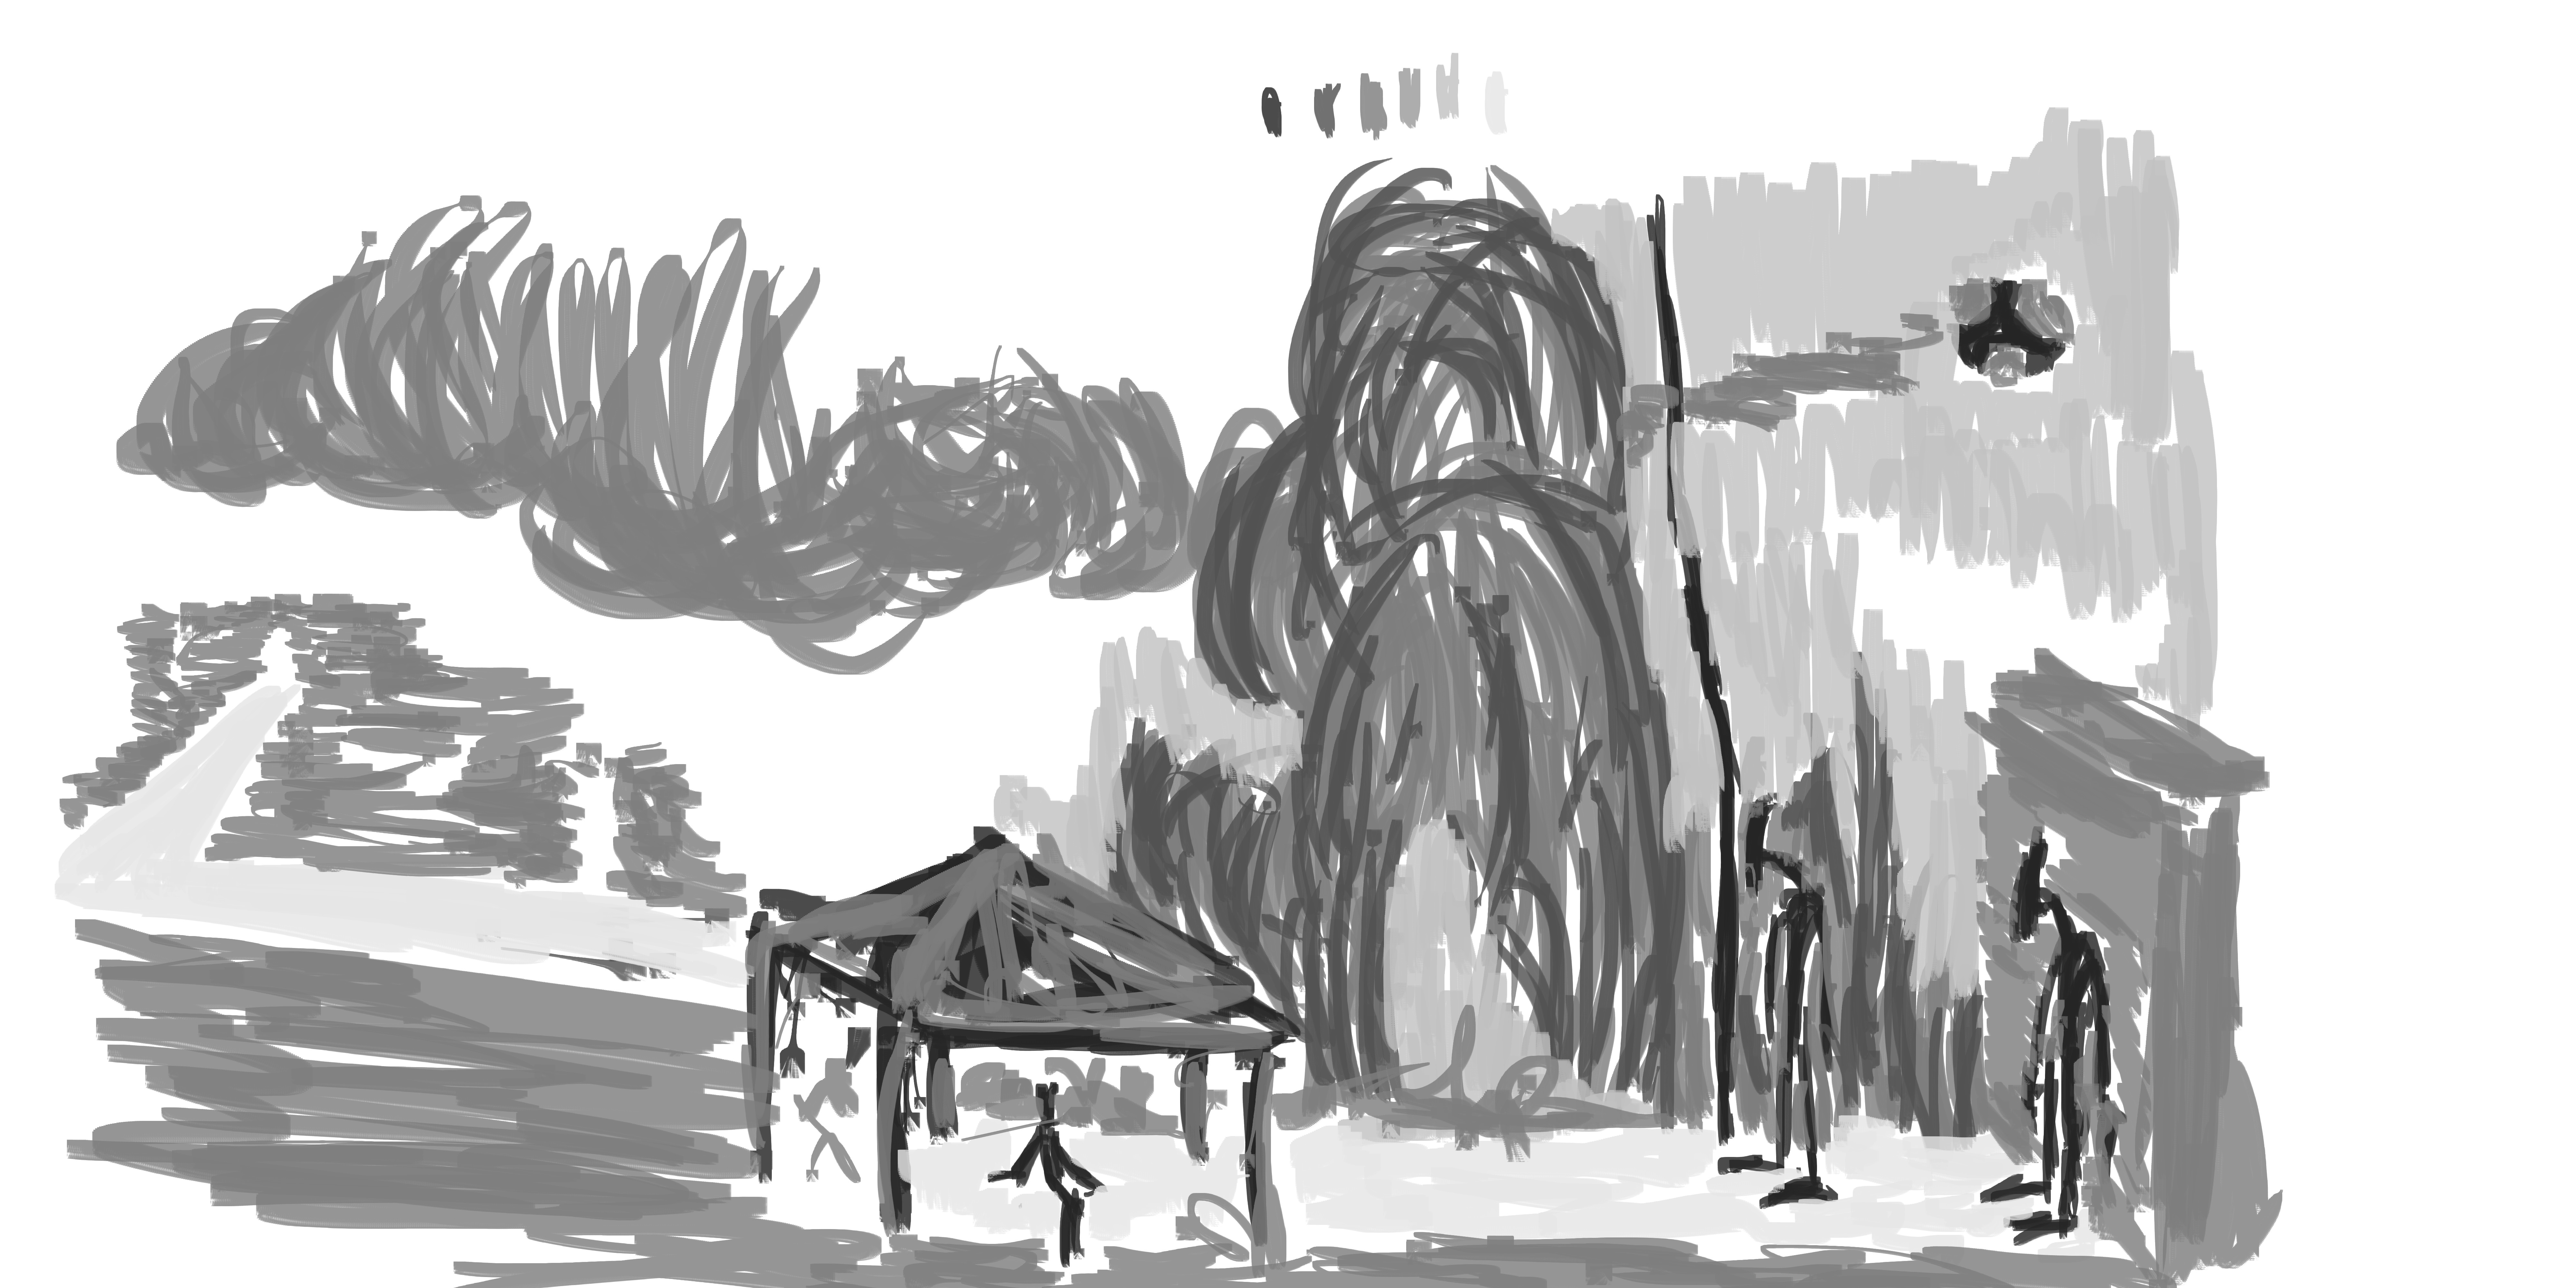
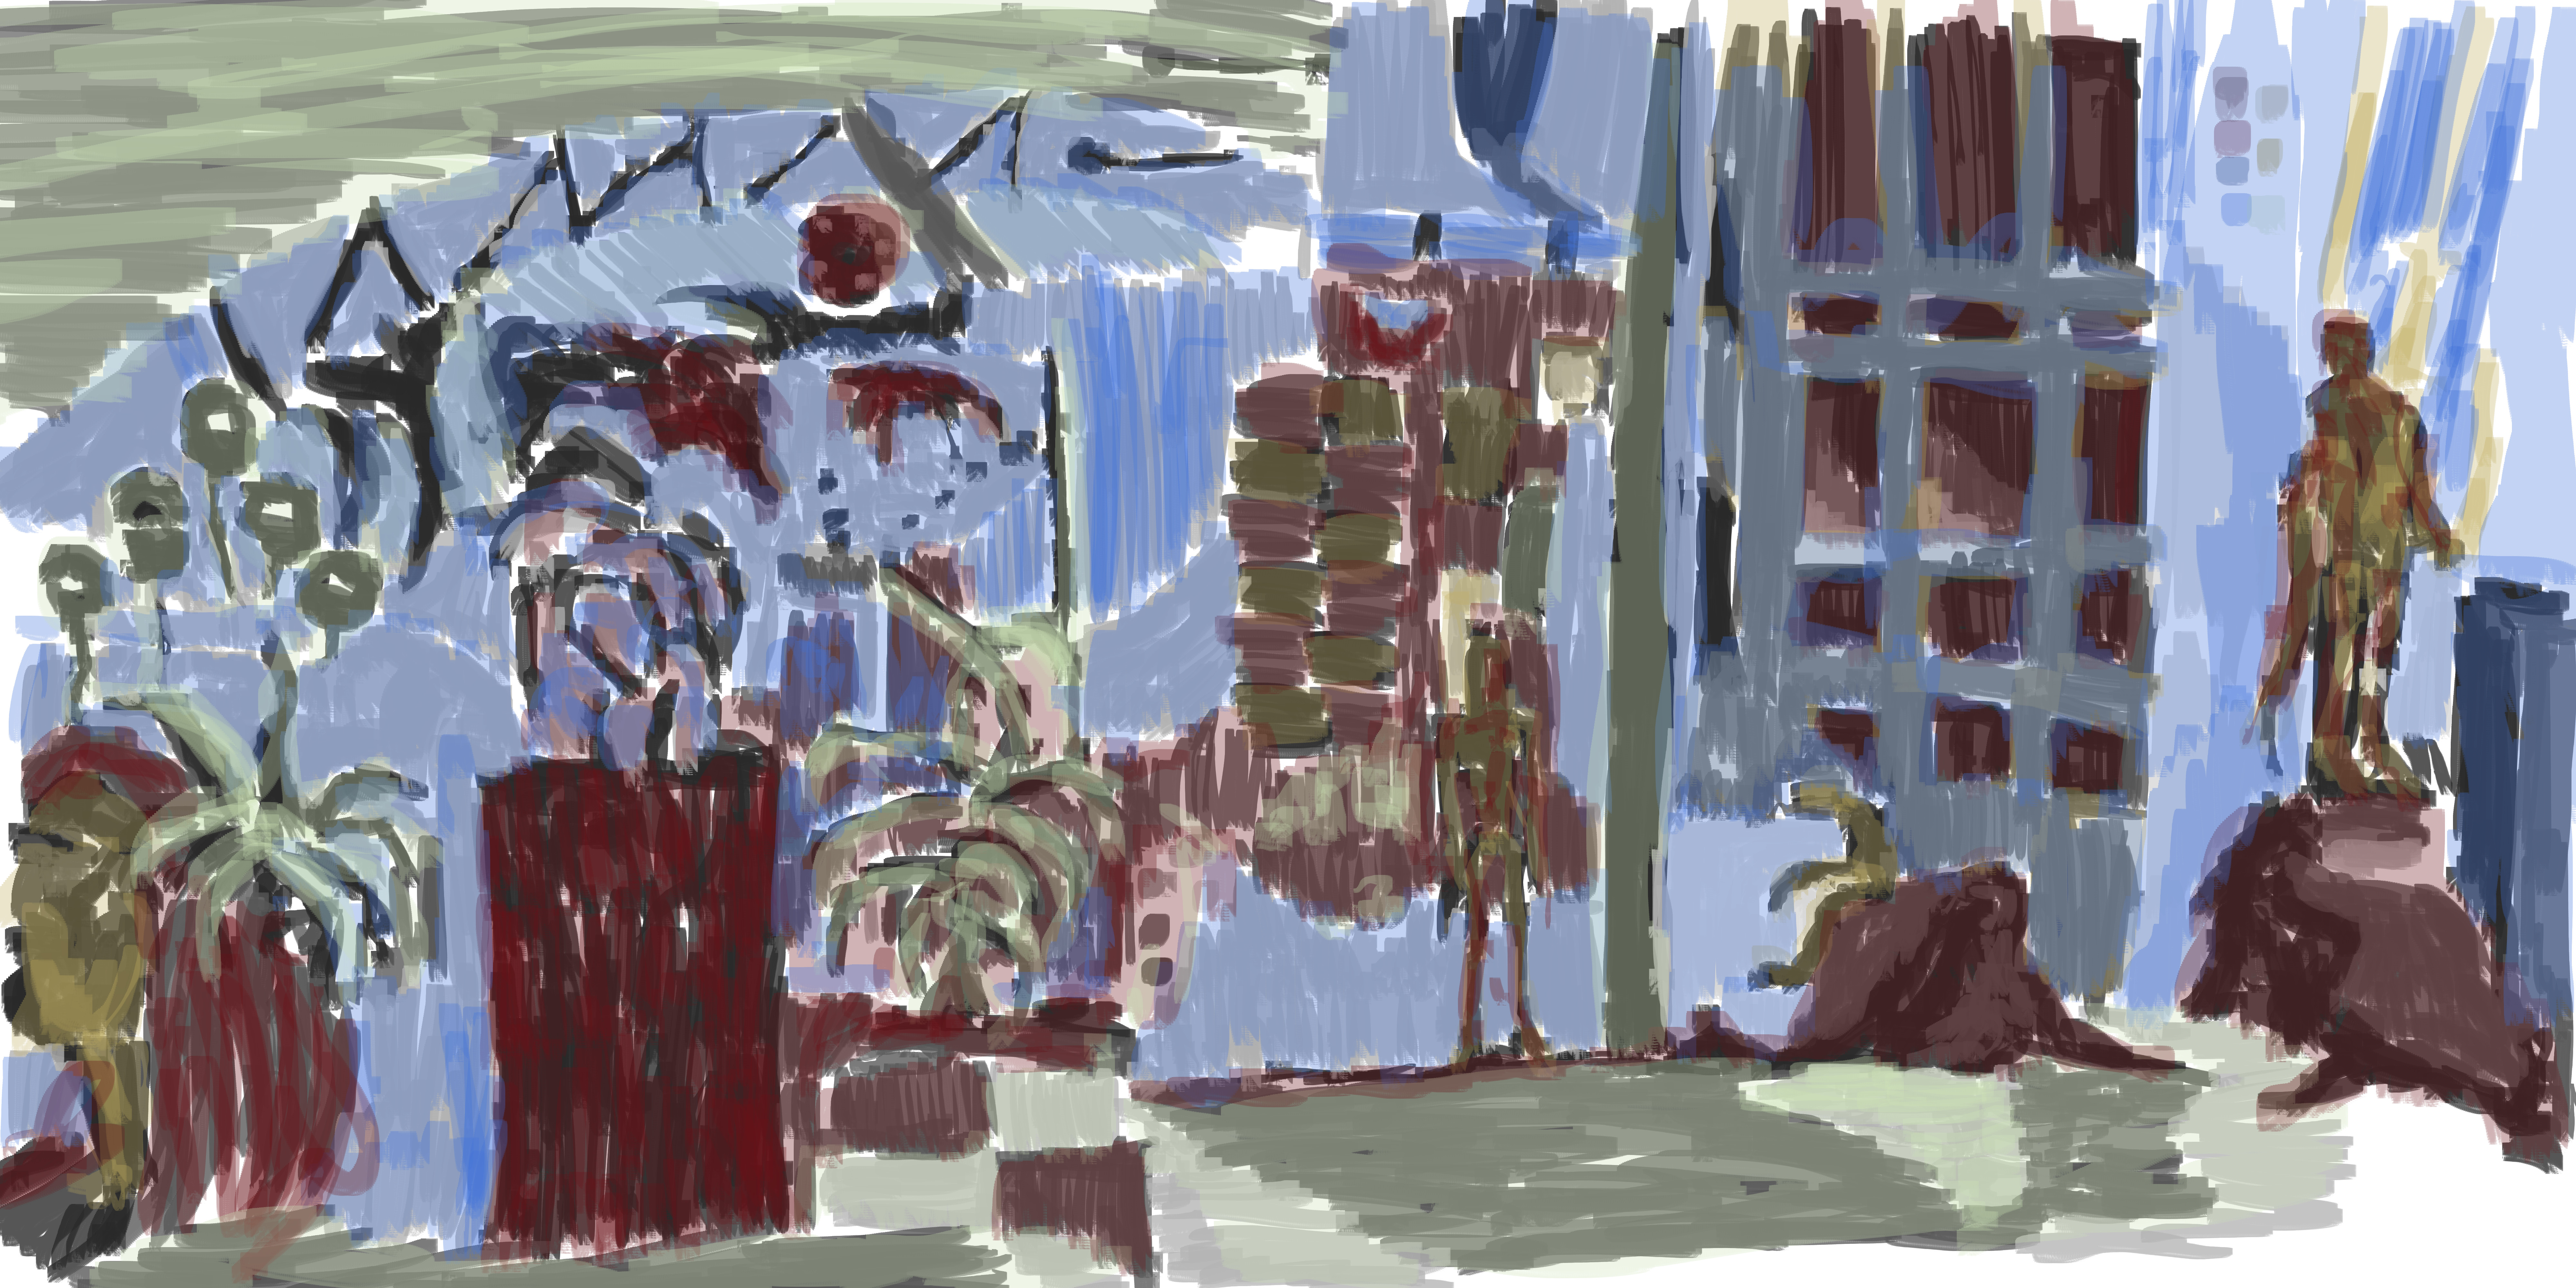
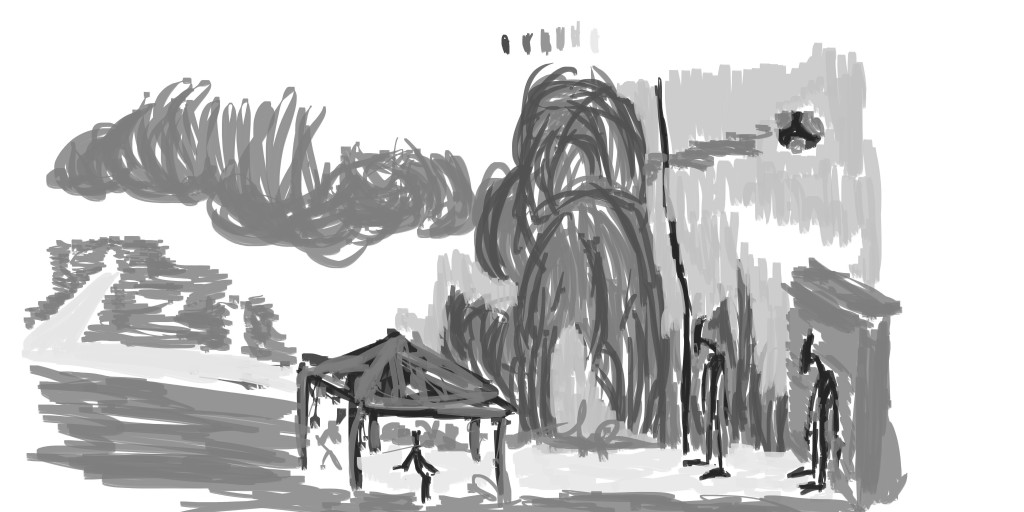
I used the second reference for this. I stuck with the reference but added extras to it. I especially wanted to add vegetation as I believe a new world would have plenty of beautiful vegetation It’s common for me to draw it on the street - so why not include it in this!
I also created a large character in the water (right side). This character represents God watching over the smaller characters as they walk down the path to their new home. He could be there also to build as well - not everything can be completed in a day.
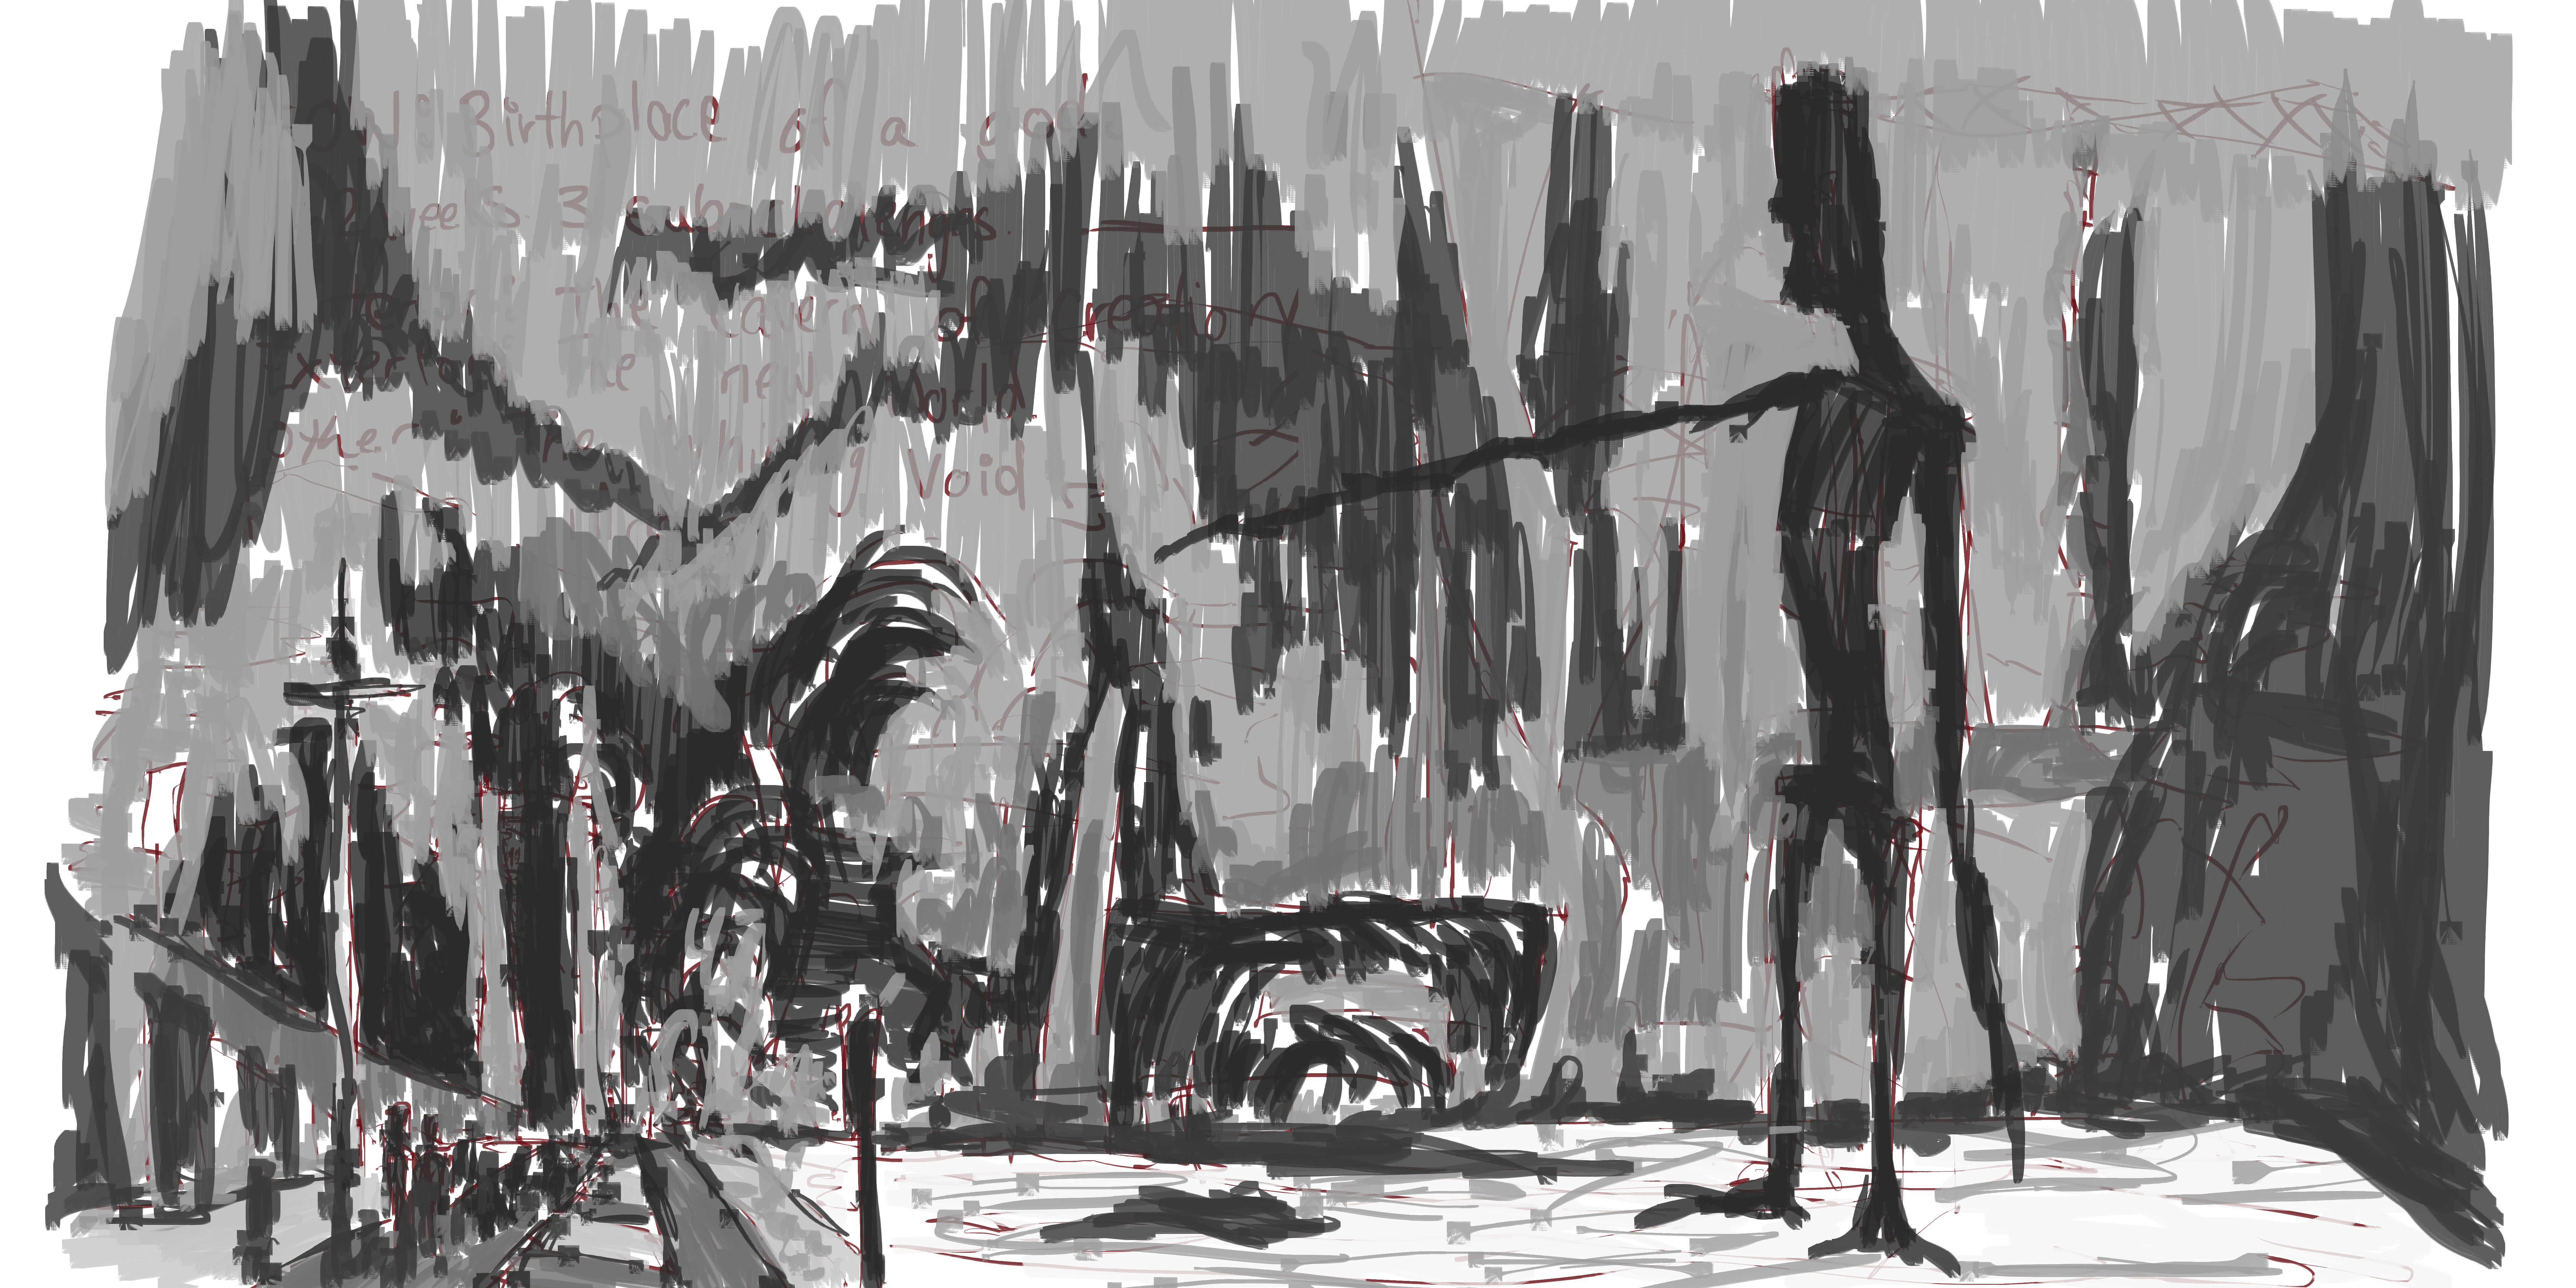
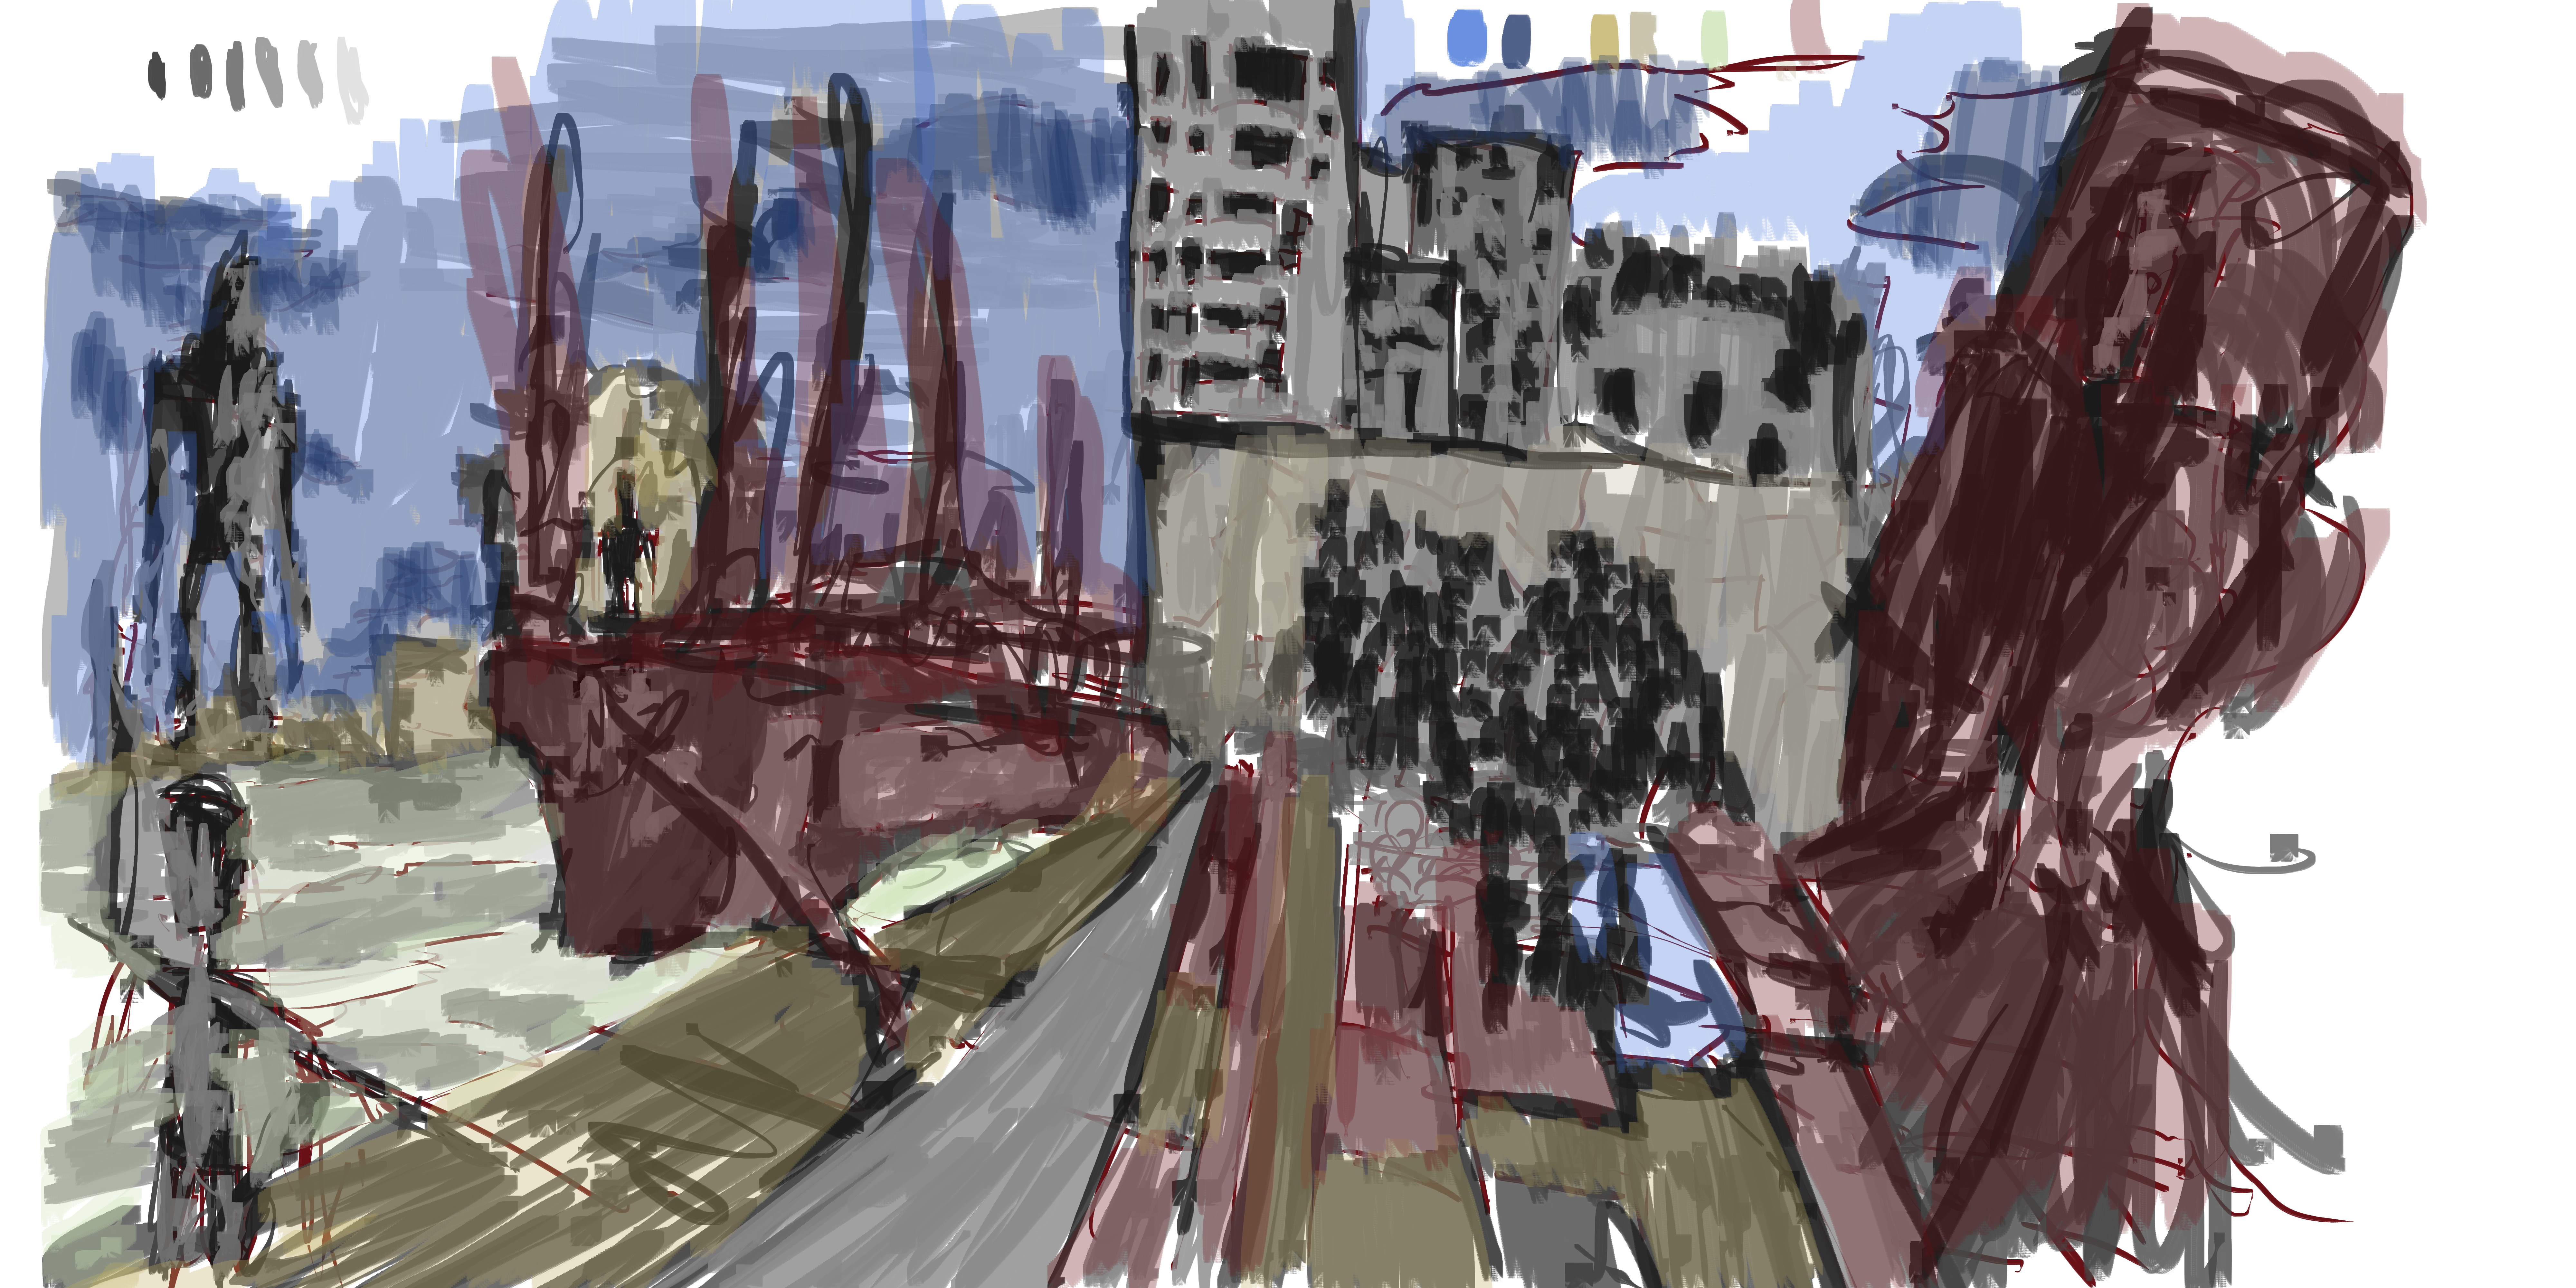
Tone helped flesh out this piece and give it a sense of direction. Overall I’m happy with the left side but have concern over the right and the lack of information. This is true for the background. The best option for this will be to treat it like a thumbnail and develop the scene further - with my own reference photos. I’ll work on this idea tomorrow, but for now here’s a color layer added -

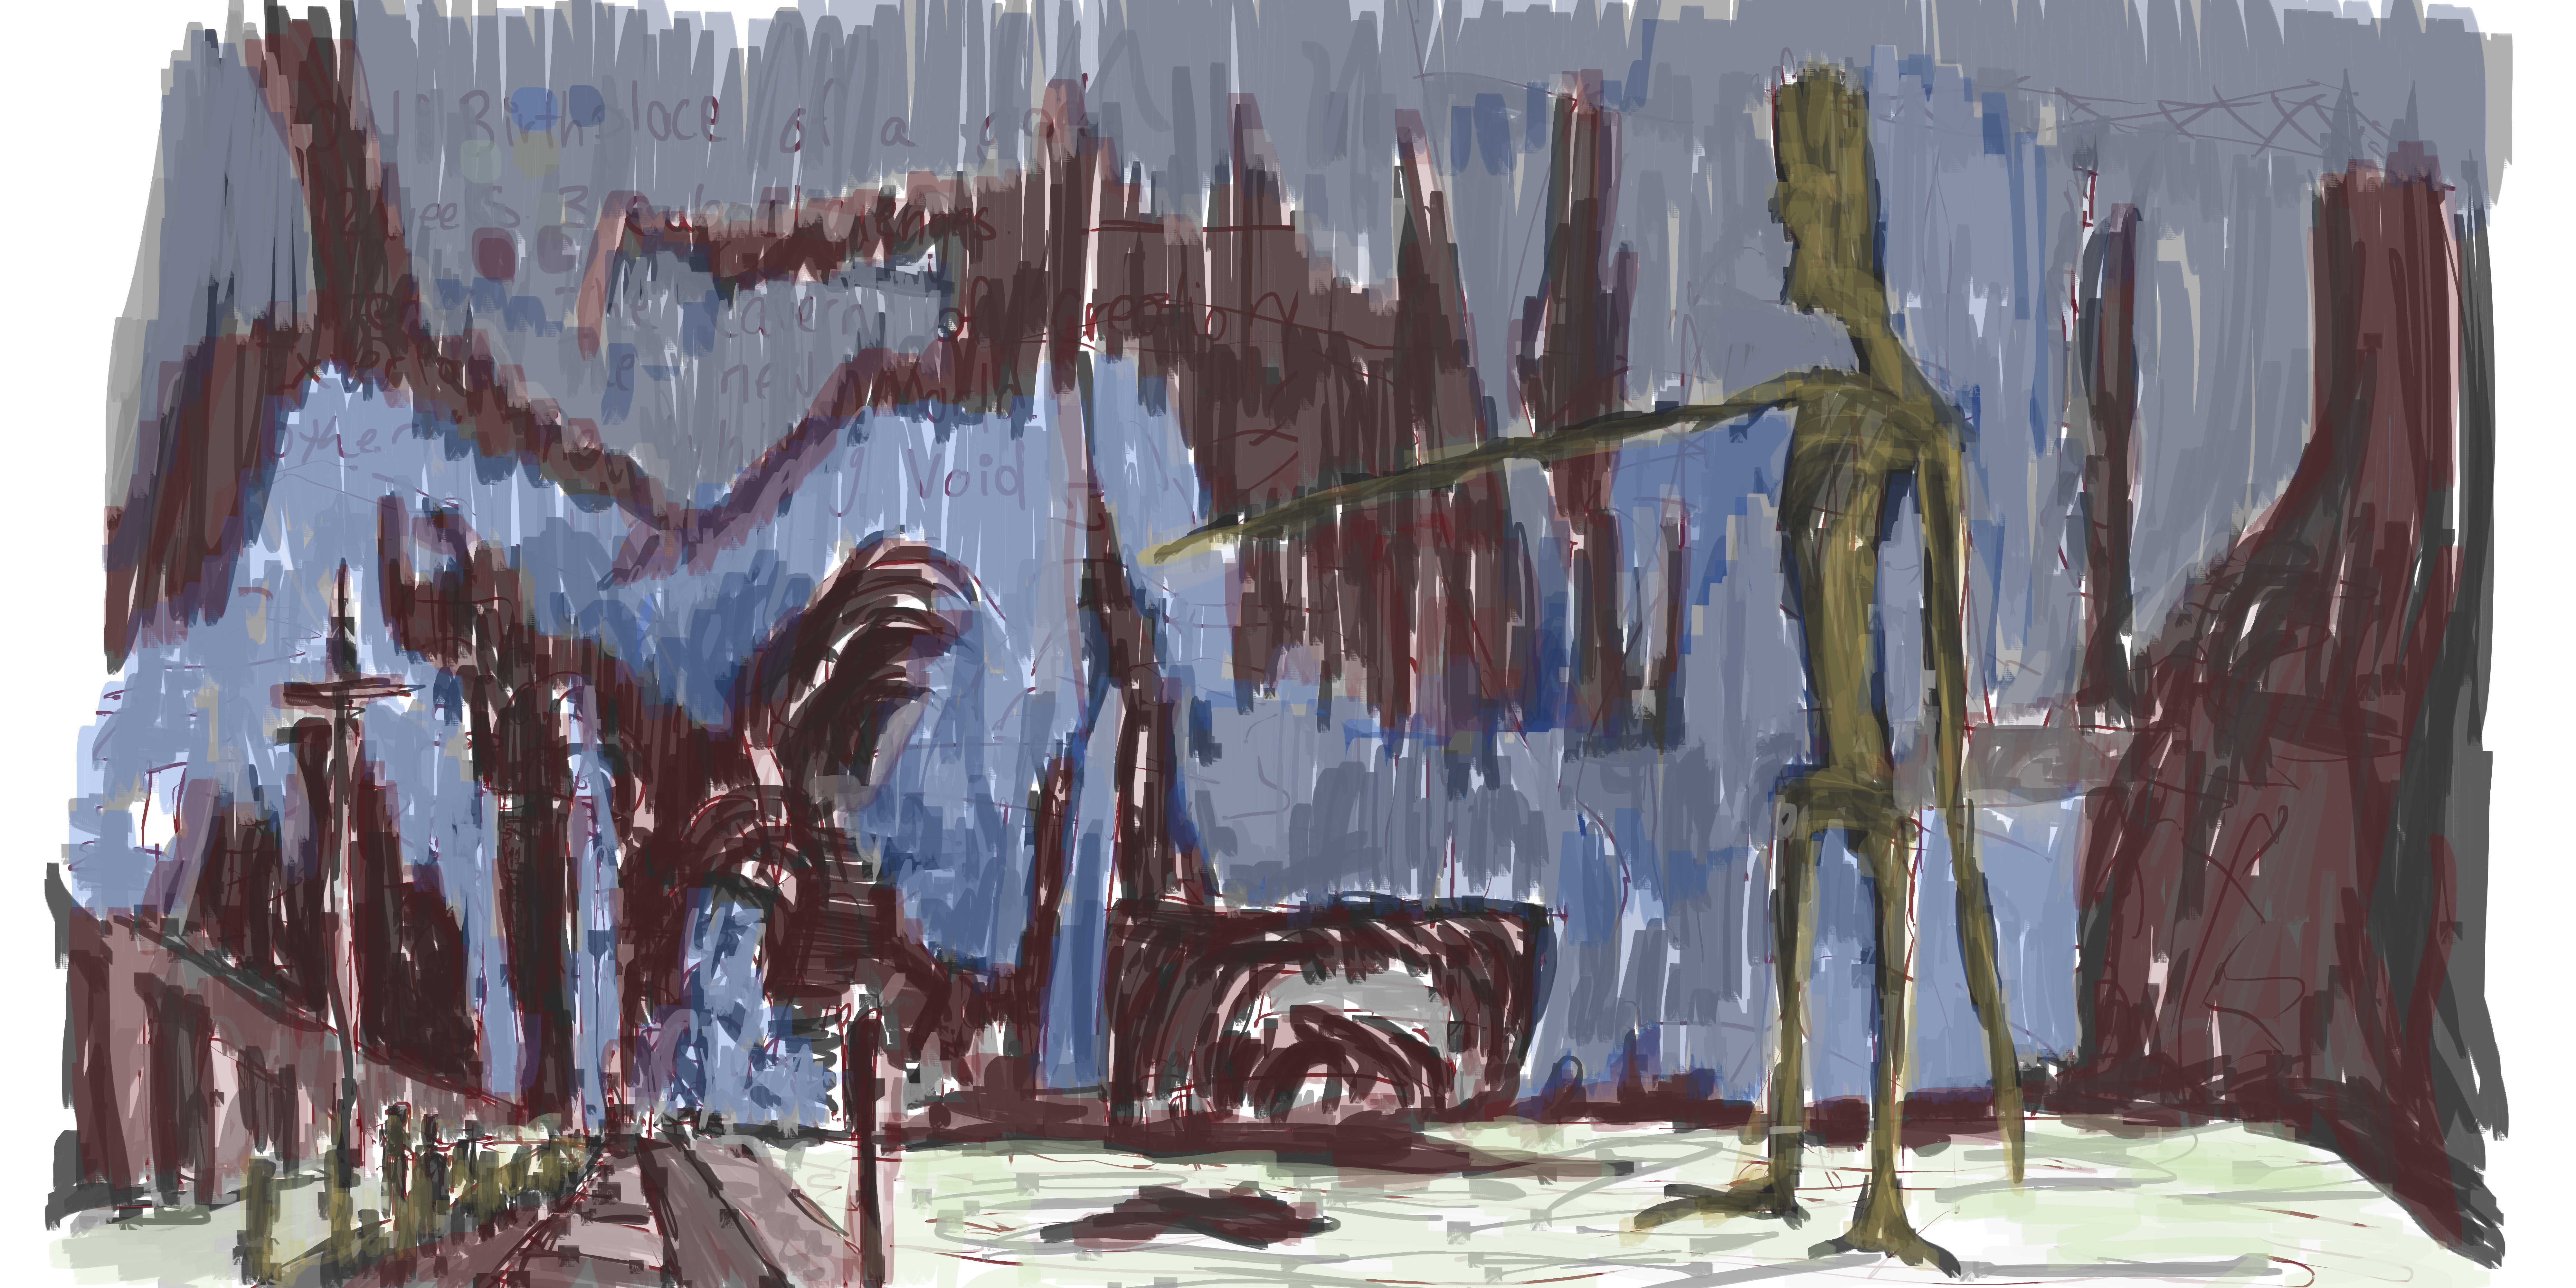
Colors are what I’ve been using regularly. Though looking at this now I should of used more yellow - especially mixing it into the red areas. The red tends to dominant the work. I used the green for the water but it’s hard to notice - maybe needs more colors mixed in.
Oh and here’s the video:
Read more →
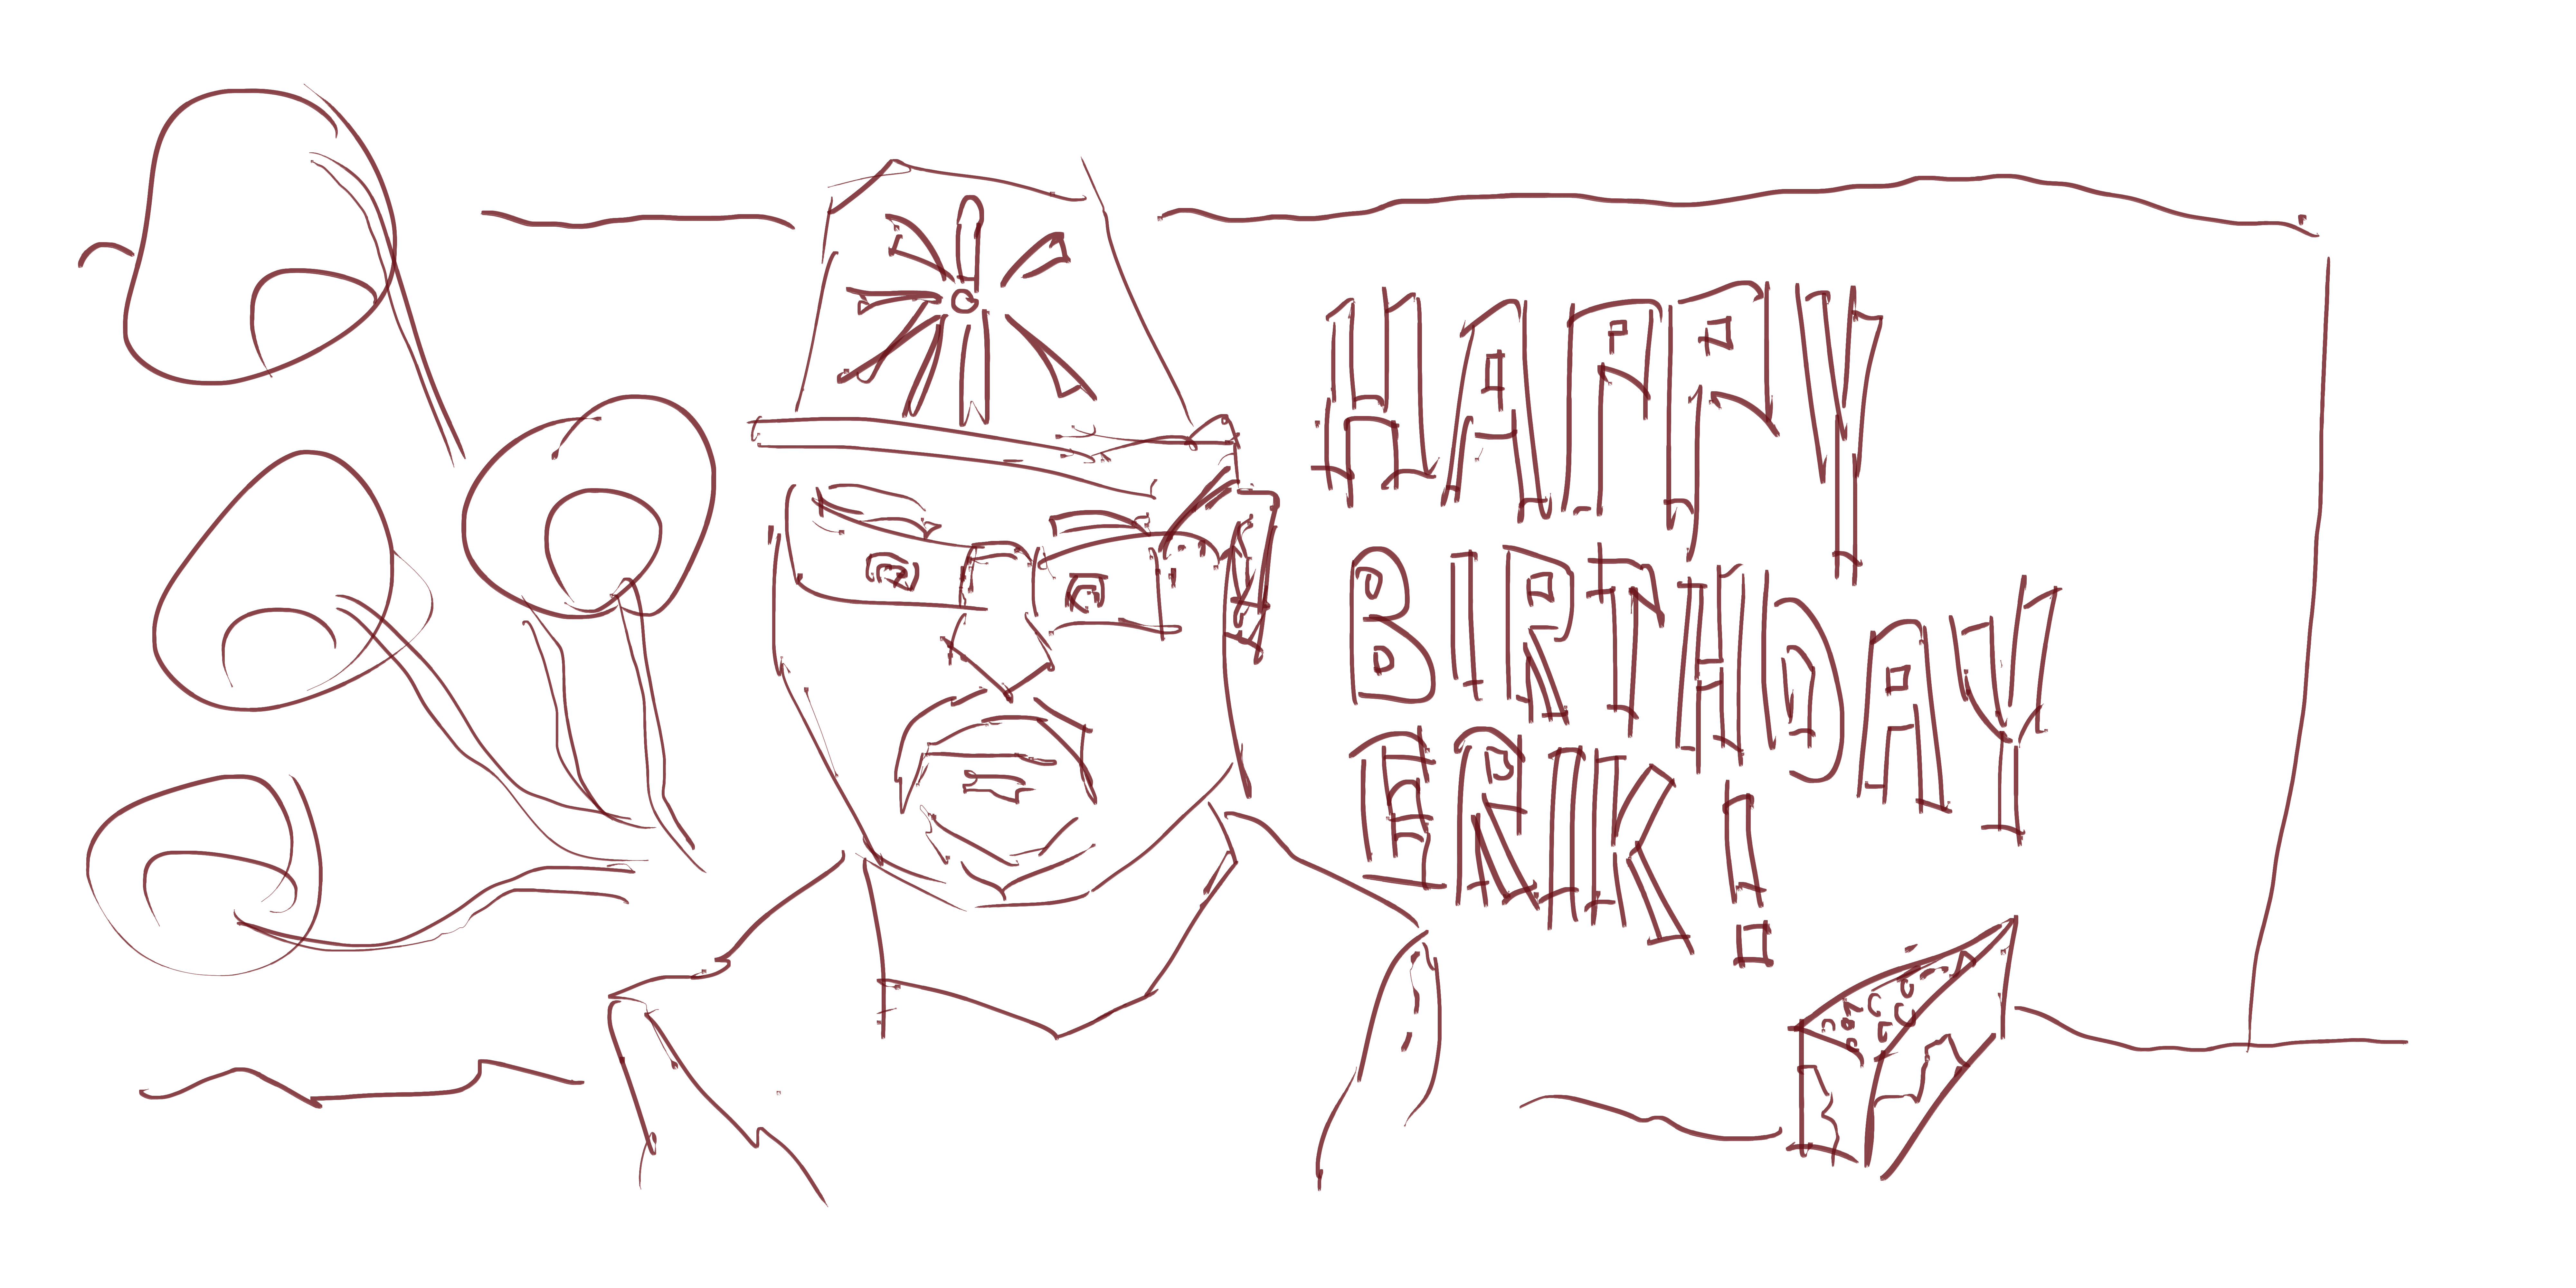
During my time in Auckland I met Erik, he’s a independent game developer based in Auckland. Go check his website out. I notice it’s his birthday today so made this painting for him, similar to what I use to do with my Facebook friends before deleting Facebook earlier last year.
Anyway, I’ll format this post like any other - first up line: 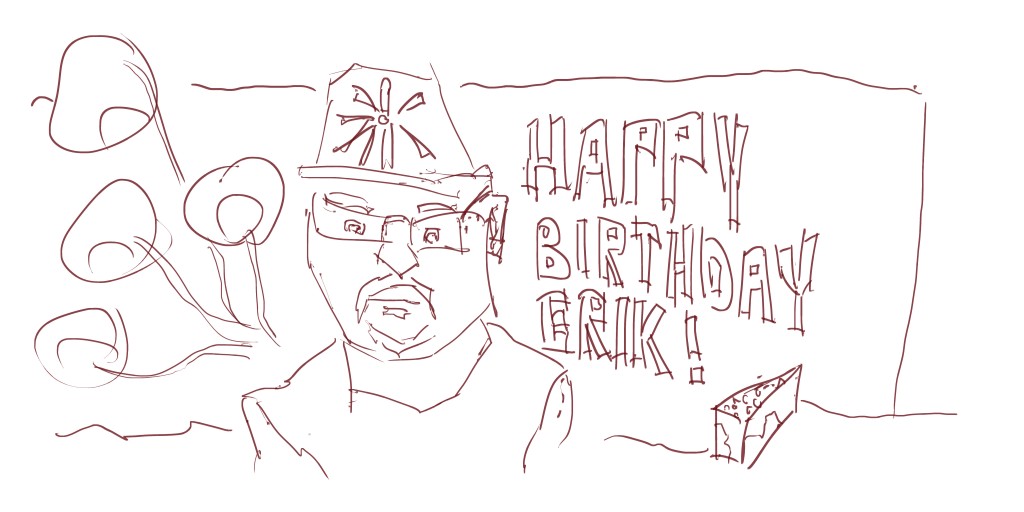 For the reference I used Eriks twitter picture. I had a quick look around his site for any higher res images I could use but no such luck. It doesn’t matter though - still looks like him! Around the portrait I included balloons and cake plus the type: Happy Birthday Erik. Of course this was hand rendered.
 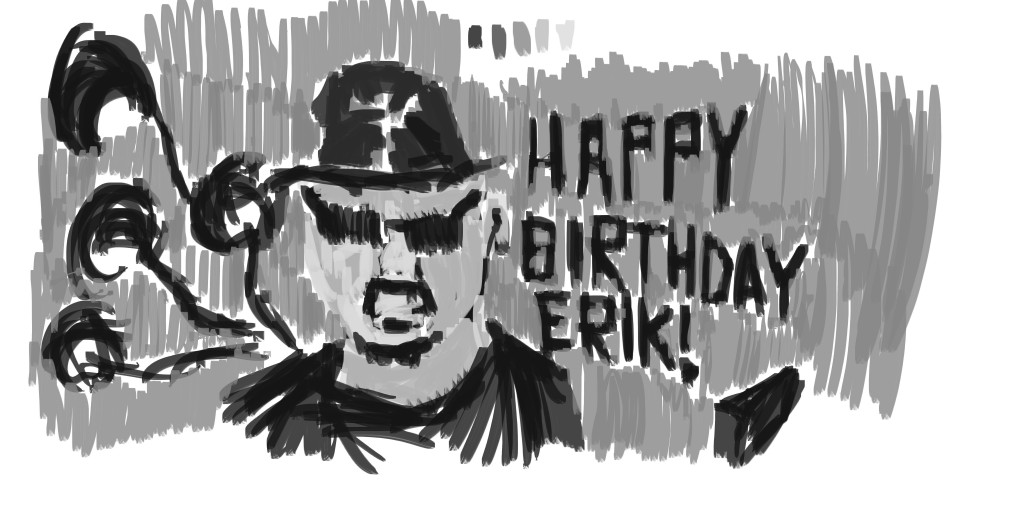 Tone added. I choose to cover his skin first with black before later bringing lights over it. I’ve been thinking lately about working from a darker background rather than white. I’ve done this in the past and been happy with the result - it makes it feel less scary than a blank white canvas.
 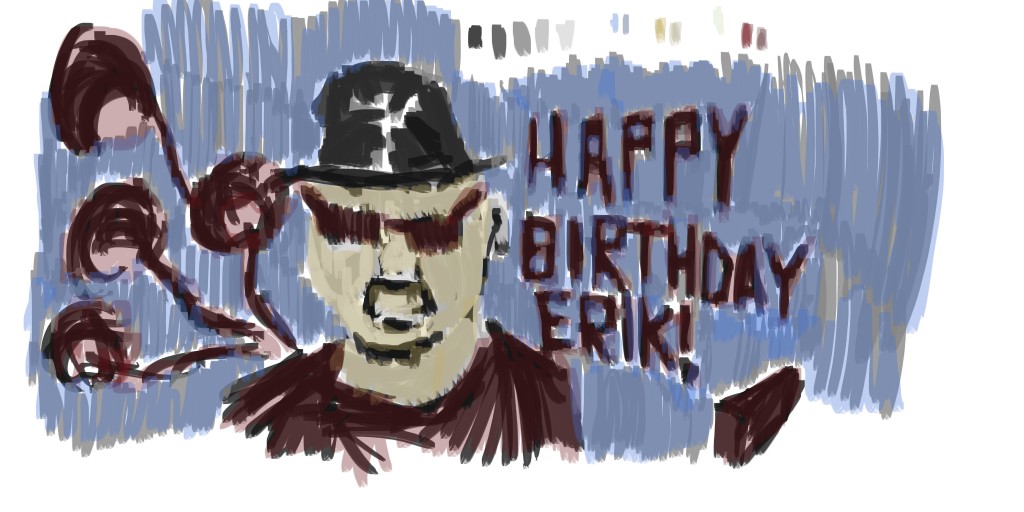 And finally color. I kept with just three color - yellow for skin, red for objects and blue for the background. I decided not to color the hat because I think black hats are rather rand.
Happy Birthday Erik - Hope you have a great day!
Read more →
More digital painting. I had a rest this afternoon and felt much better afterwards. Here’s another digital painting I’ve been working on. I especially had fun with the color layer.
I worked differently with this - working from photography reference, my own stock images. For this I used Auckland Waterfront images. The same proces has been used with the painting though - starting with the red line. Working from the photo gave me more control over where the lines go - sometimes I feel restricted with a trace over - not always, but it’s great practice to do some photo reference work.
Next up, tone:
I’m especially happy with the ship and water. All this practice and I finally believe I’m starting to get somewhere. I like the rough and quick feel it has - but still understanding what exactly is there.
And finally, color. I used red for the ship and object to the far right. The water - green. Background vegatation is yellow, and sky - blue. Strips of yellow and red along the planks on the ground.
Read more →
I’ve been playing The Walking Dead. Good news is that it’s a game that allows me to paint at the same time. So during the game I painted this following scene, it took me a bit longer to paint than usual as I was semi engaged with The Walking Dead.
Anyway, here’s the painting:
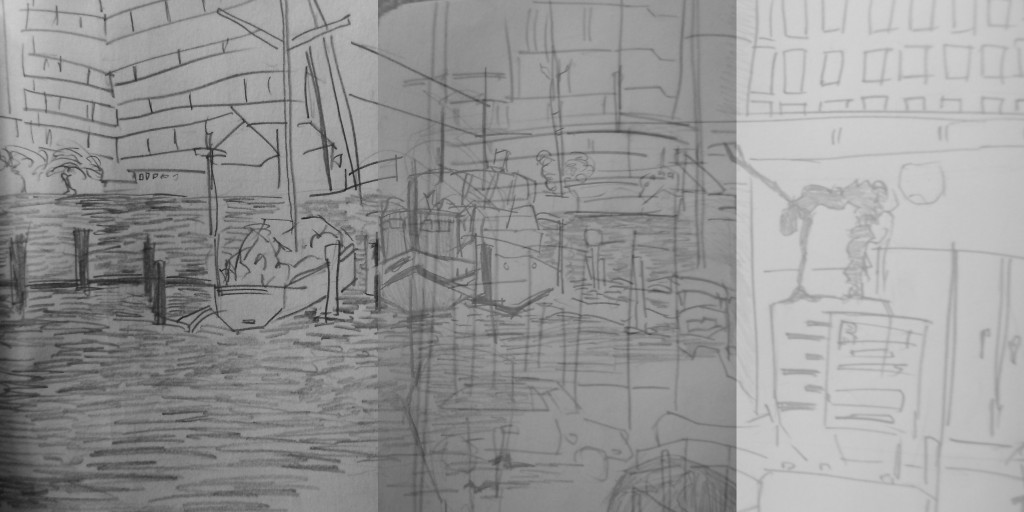
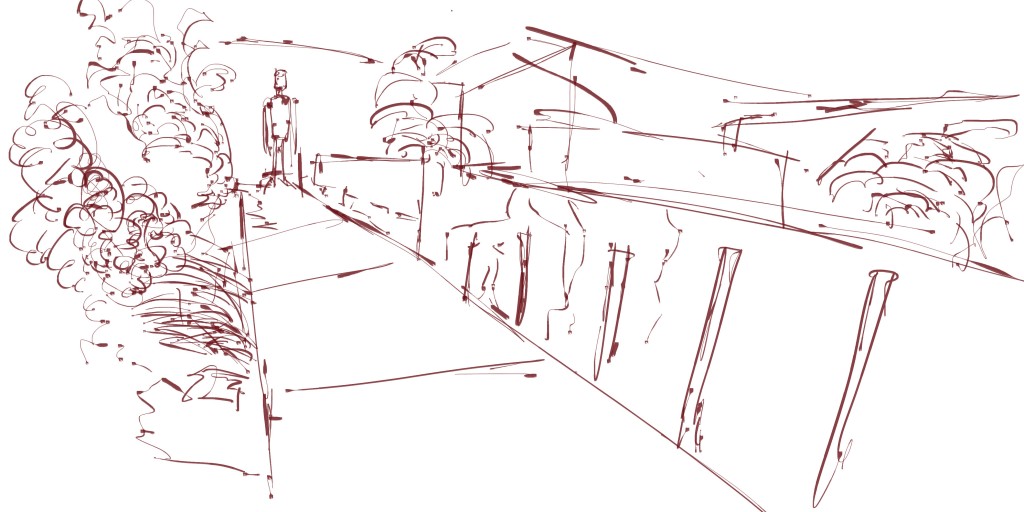
The reference is common - both pencil sketches drawn in Wellington - the left waterfront, and right the railway. I painted the railway just yesterday so I think tomorrow I’ll have to paint something different. It is a fun scene to paint though. I want more drawings with figure sculptures in.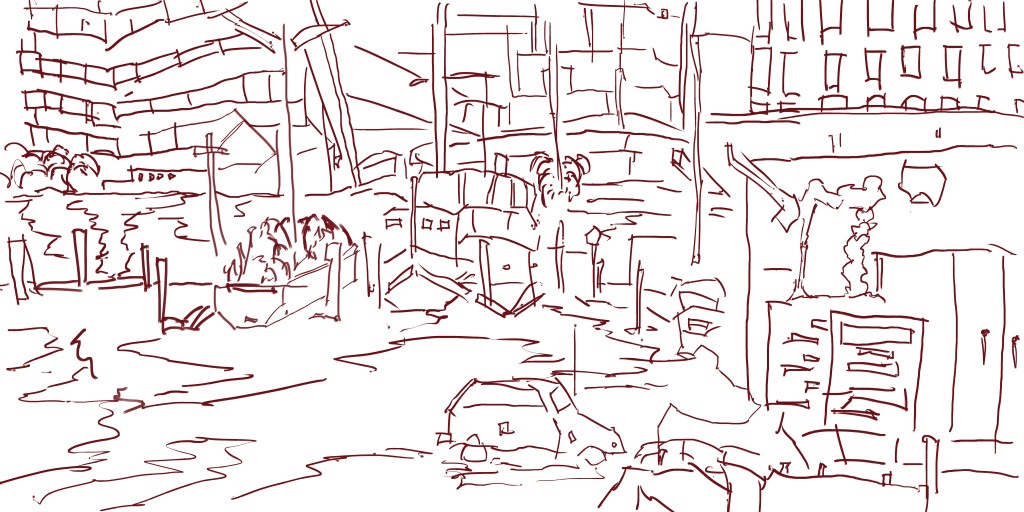 Ok line. I currently have a bad headache so not really sure. I guess this line is what I expected. Nothing special or different to what I usually do. I’m just going to move onto tone which is far more exciting.
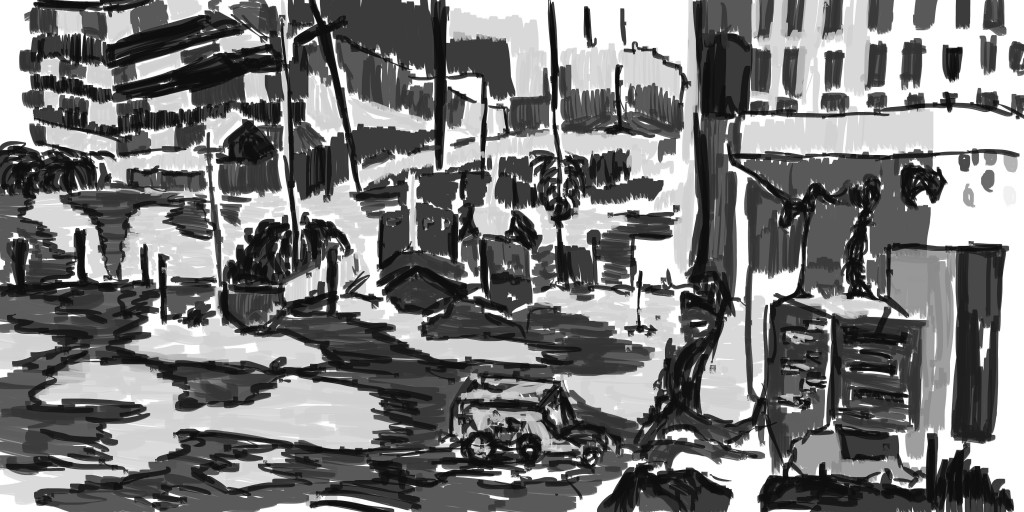
Gayscale tone. Now this is getting there. I spent awhile on this building up the tones. I’m happy with the water areas and the interesting large pole on the right side (left of the figure sculpture). I’m not happy with the car, I had to go over it several times but it still feels wrong and out of place.
 Color. As always I had plenty of fun applying the color. I kept with my usual colors, but was brave and mixed them in areas.. such as the green/blue and yellow/red for the water. The opacity is set to 30% for the color so layering of colors greatly helps the depth.
Alright, that will do for now. No video for this one.
Read more →
During my final hours in Auckland I started playing The Walking Dead. I got the majority of the way through episode one. I’ve just reopened it up on my laptop and playing it.
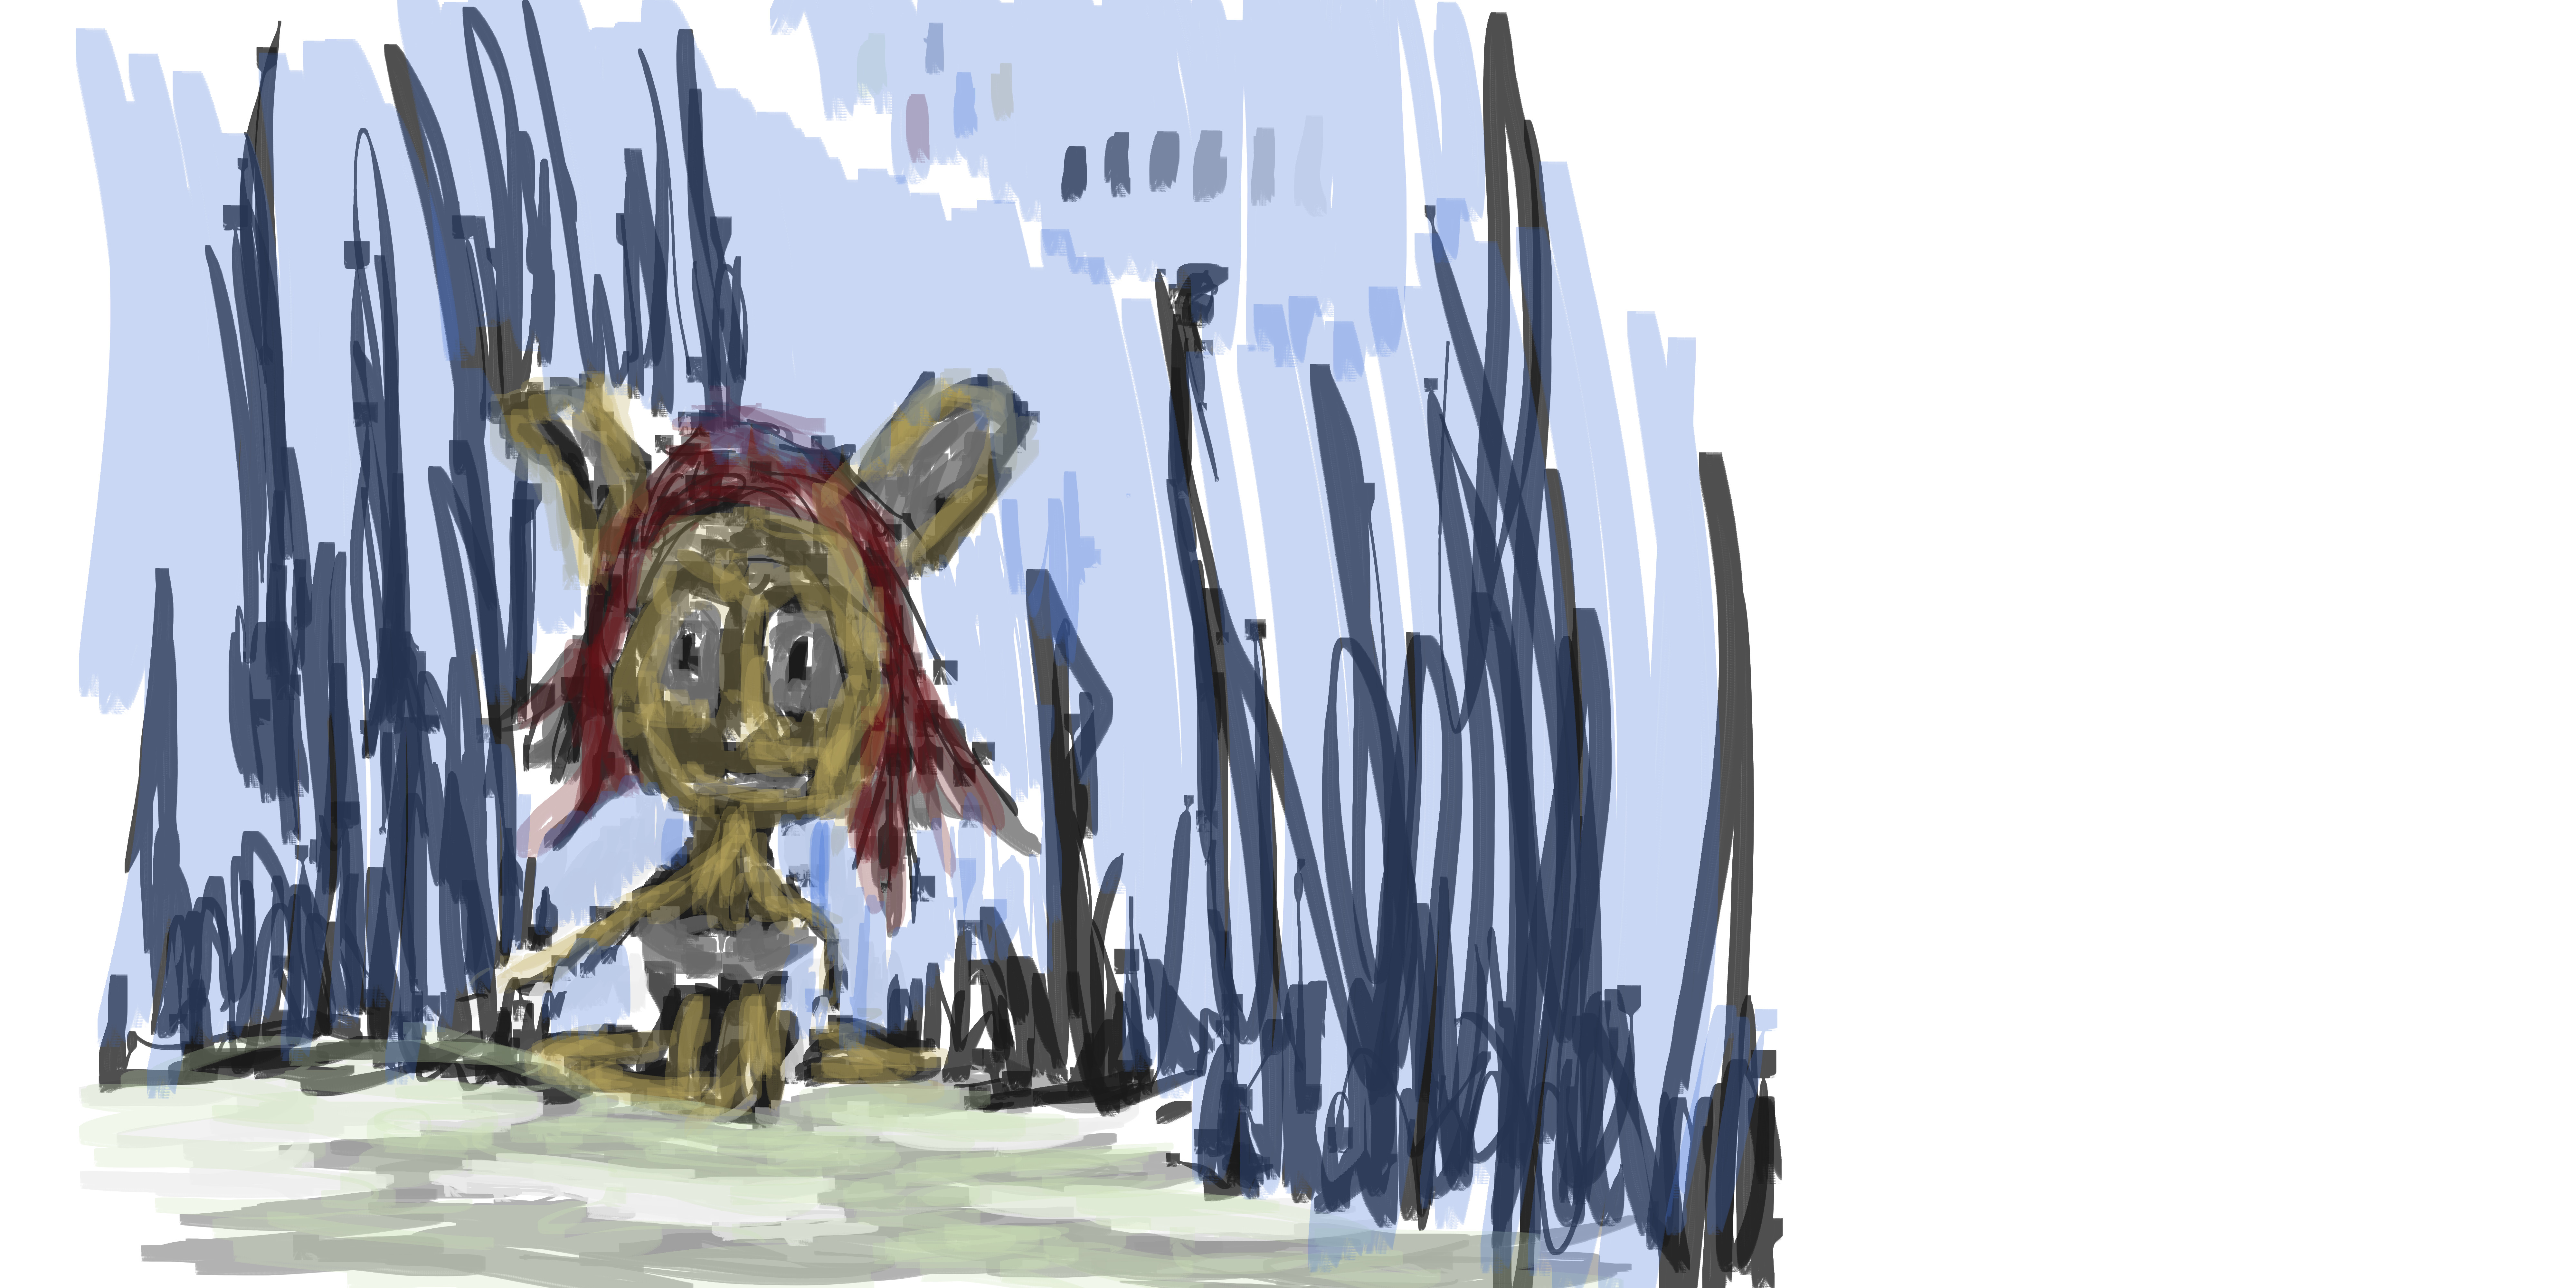
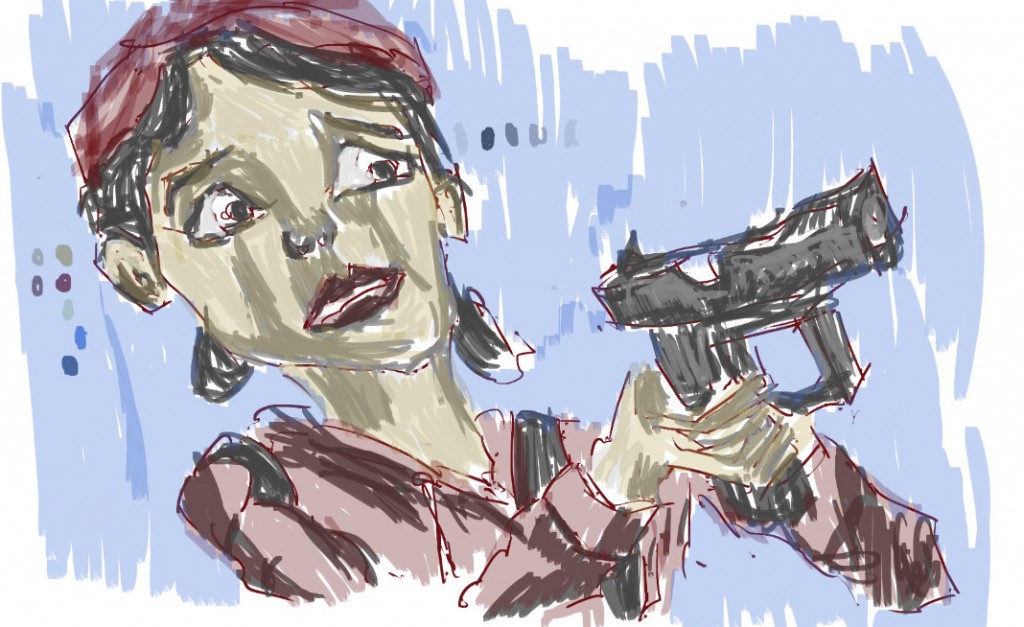
Here’s a painting I did of Clem from the game:
And using some reference photos that I took recently I did this enviorment painting:
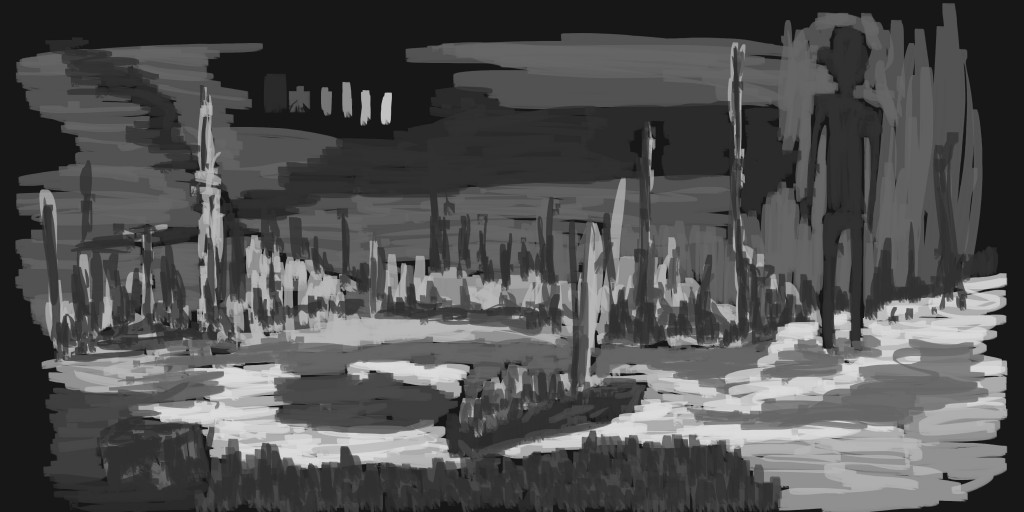
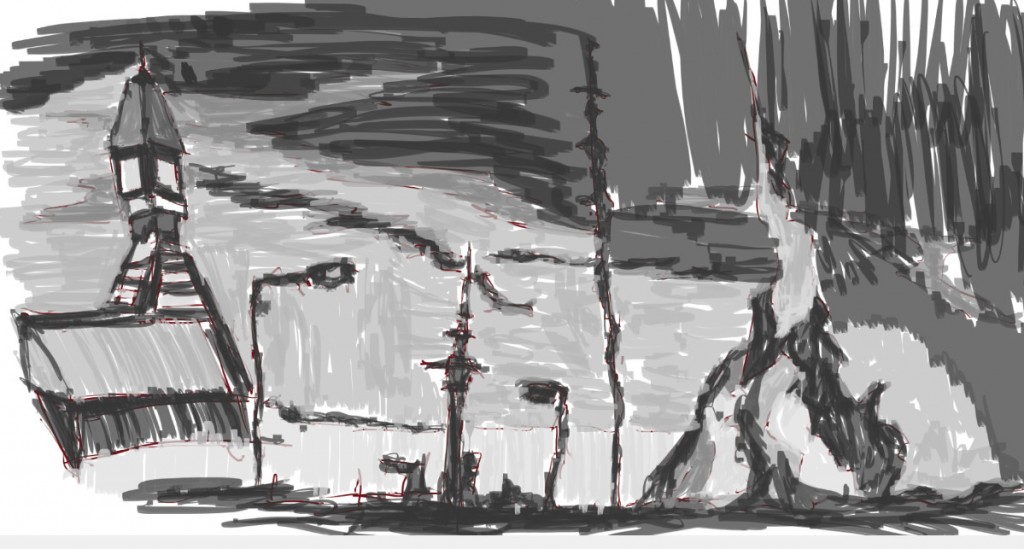 I used several different references for this - the first a clock tower photo in Levin, this also included the reference for the street lamps. The second reference was from Auckland - the Sky tower. The rest of the image was just tone building up from imagination - including the mountain. I’ll like to do more of these photo studies rather than just work from my drawings.
Finally here’s the video for this these paintings -
Read more →
Good morning. Another painting complete. I started this painting last night and finished it this morning. It works out well even if I just get the reference sorted, I can jump straight into it. Once I get started painting I generally don’t stop till it’s finished - unless I’m interpreted and that’s usually only by Dad.
Here’s the painting - 
Reference. Several of these drawings I have used previously but like yesterday I thought I’d redo them, something fresh. May help with the continued theme of subject manner. Plus I reakon I’m better now than ever before :P.
On the left is a drawing I did during my trip to Auckland in July. It’s in the Westfield mall. It was always one of my favorite drawings of the trip.
Top left is a bridge drawing from Wellington Waterfront.
The top right is the Auckland Railway. I did this several visits ago in Wellington, but happy with the drawing, and I always get decent digital paintings from it.
This third reference is from Takaka - a drawing I did on the beach. I don’t believe I’ve taken this digitally before but I have produced a acrylic painting using it as reference.
I almost forgot about my last reference - a portrait I did of a friend - Hannah. This is in the far left. I was happy with the drawing but the portrait didn’t work well in this painting.
Line. Simple really, I traced the reference. I didn’t change the reference much, only little things like making the figures look larger than life and standing on rocks in the distance.
 Grayscale tone added. This is always the most fun stage, I love tone and building up those lights and darks. It brings the scene out of plain line into something that’s real.
Again I made the characters dark and light for the background. I used the same brush in this whole painting attempting to create a range of textures with it.
I wanted to create a water type effect for the ground. I’ve been told the way to paint water is paint reflections. 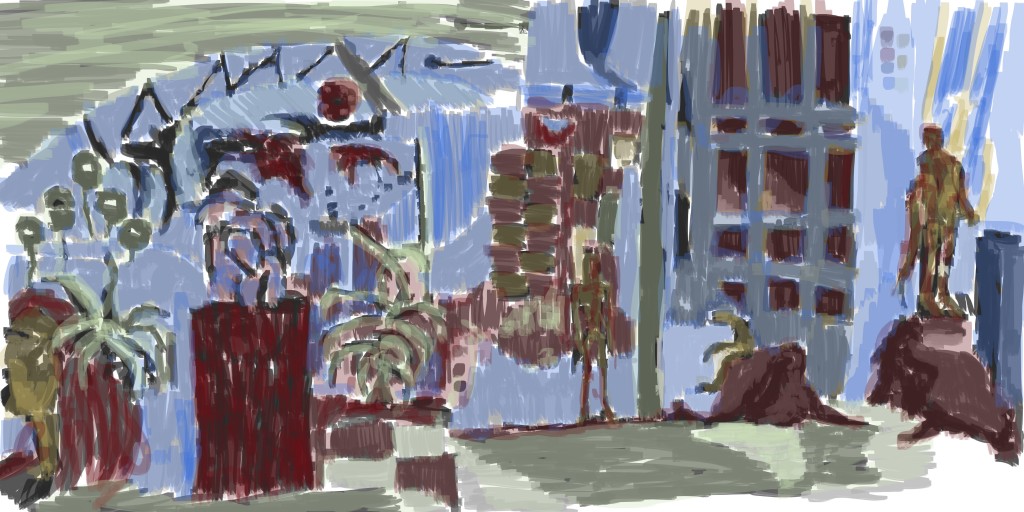 And finally color. My normal color trends here. I used the green for the sky area in the top left and for the water area on the ground. Something a little different, though I’ve used the green for water in the past. I wasn’t scared to mix the colors together, mixing yellow and red for the figures.
Overall I’m happy with this painting, time to get off the computer, take some photos and eat.
Read more →
 Color. I had fun mixing the blue, red and yellow together. This was mainly on the vegataion areas - they parts that I felt were weak.